How to Mount Flexible Solar Panels: A Comprehensive Guide for DIY Enthusiasts
Mounting flexible solar panels involves applying an adhesive to the back of the panel and pressing it onto the desired surface, usually a roof or deck of an RV, boat or van. It’s essential to clean and prep the surface ahead to ensure a strong bond. Some people combine adhesive with screw-in methods for added security, but screwing panels should be done carefully to avoid damaging them.
Introduction
Having spent the past two decades working with solar energy, I’ve come to appreciate the distinct advantages of flexible solar panels. I still remember as though it were yesterday when I first got my hands on one. Their ability to conveniently curve around surfaces opened up a whole new realm of possibilities!
Why Flexible Solar Panels?
Traditional rigid solar panels have their place, but in some scenarios, flexible solar panels are distinctly advantageous. Imagine you’re decking out your RV or remodeling your boat – you’d prefer the smooth contour of flexible solar panels over the boxy rigidity of traditional panels. Plus, you can’t ignore their lightweight nature making the job of mounting them a lot less physically demanding!
The Advantages of Using Flexible Solar Panels
Aside from their flexibility and lightweight, these adaptable panels are robust, meaning they can withstand rough conditions without cracking or shattering. And did I mention how sleek they look? There’s an aesthetic edge that flexible solar panels bring, that’s hard to beat!
Preparatory Work
Before diving straight into “how to mount flexible solar panels”, let’s walk through what we need to get started.
Tools and Materials Required for Mounting
The list is pretty straightforward, really. You’re going to need the flexible solar panels-refer to our top picks on our “/flexible-solar-panels” page. You’ll also need a high-quality adhesive, a measuring tape, a clean cloth, and your personal protective equipment (PPE), such as gloves and goggles.
Safety Measures to Take Before Installation

Make sure your work surface is flat and stable. If you’re working on a roof, use appropriate safety gear to prevent falls. Always remember, no amount of solar energy is worth risking your safety!
Choosing the Right Mounting Method for Flexible Solar Panels
Remember when you used to stick posters up in your bedroom as a kid? The same principle applies here!
Comparison of Different Mounting Methods
There are two main methods of mounting flexible solar panels: peel-and-stick adhesive and screw-in. While screw-in provides more security, it risks damaging the panels if not done correctly.
Determining What Suits Your Needs
Consider the surface you’re mounting the panels on and the environment in which they’ll be operating. Are there intense winds or is the vessel prone to vigorous movement? Screwing might be a safer bet. If screwing is not an option for you, choose a high-quality adhesive that can withstand harsh weather conditions.
How to Mount Flexible Solar Panels
Alright, let’s get to the good part – how to mount flexible solar panels.
Surface Preparation
Cleaning the Surface
Just like how you would never paint over a dirty, dusty wall, you need a clean surface for the adhesive to stick properly. Wipe any dust, dirt, or grime off your mounting surface. Let it dry completely before moving on to the next step.
Measuring and Marking the Installation Location

Use your measuring tape to choose the spot where you’ll mount your panels, mark it if necessary. Remember, solar panels need maximum exposure to sunlight, so place them accordingly.
Applying the Adhesive
Attention to detail is key here. Apply a generous and even layer of adhesive on the back of the flexible solar panel. Make sure you cover everything, from corner to corner.
Laying Out the Panels
Aligning the Panels Properly
Carefully align your panel with the marked positions on your mounting surface. Precision at this stage will make the difference between a professional-looking job and a clumsy DIY project.
Pressing Down to Secure Adhesive Bond
Press the panel down firmly, ensuring a solid bond between the panel and the surface.
Wiring Your Solar Panels
Series or Parallel Connection

The good news is that flexible solar panels use the same wiring methods as any other solar panel. Choose between a series or parallel connection based on your individual power needs.
Routing the Cables
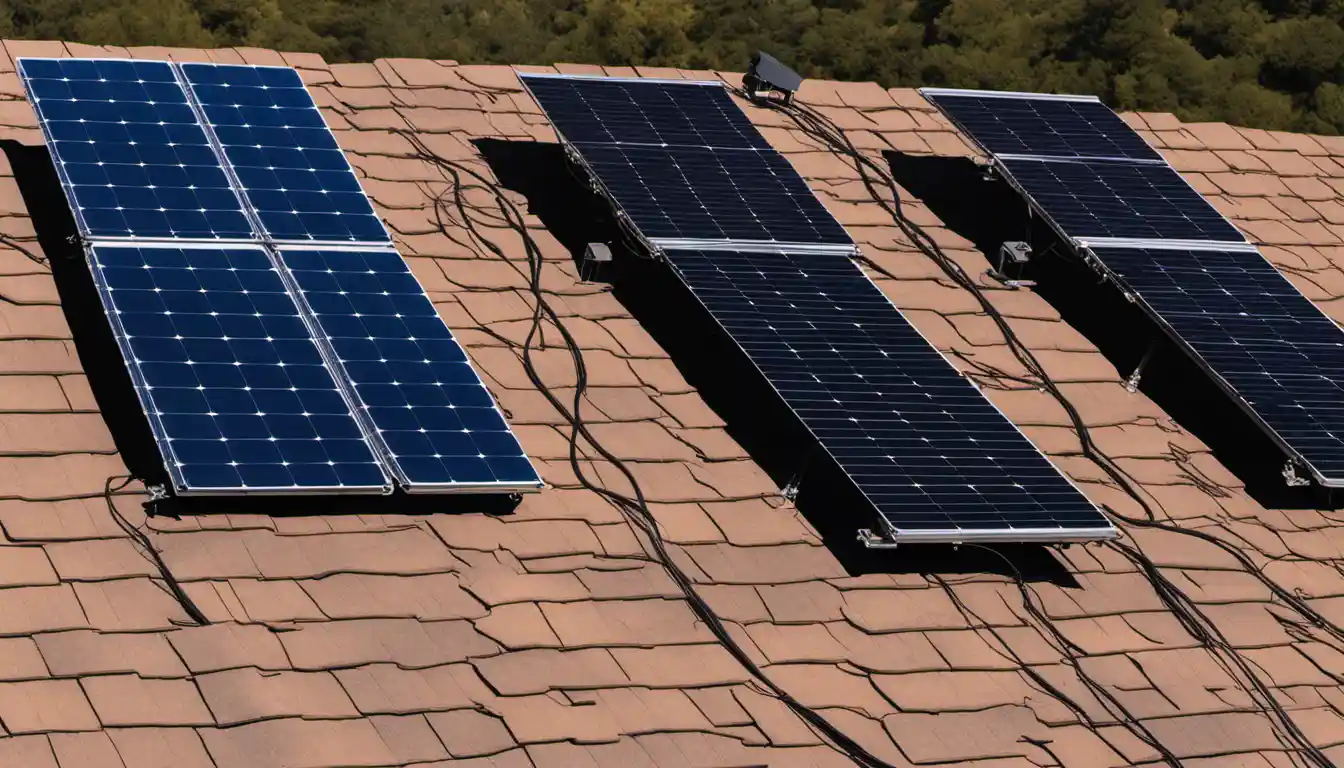
Once connected, route your cables to the solar controller. Remember, the neater the better!
Connecting the Solar Controller
Your final step will be to connect the wires to your solar controller and voila! You’re now harnessing the power of the sun!
Post Installation
Testing Your Installation
After mounting and wiring, it’s crucial to properly test your installation. Use a multi-meter to check the output of your panels and ensure they’re working as expected.
Maintenance of Flexible Solar Panels
The plus side that always gets me grinning is the fact that these panels require next to no maintenance. Give them a wipe down now and then to ensure they’re clean and performing at their maximum efficiency.
Conclusion
Learning how to mount flexible solar panels is just one step in your journey to creating a more sustainable future. They’re stylish, versatile, and above all, a fuss-free addition to your renewable energy setup. As an experienced solar energy enthusiast named Elliot, I guarantee that once you’ve turned to flexible solar panels, there’s no turning back! Remember to refer to our in-depth guide on “/flexible-solar-panels” before making your purchase. Here’s to soaking up the sun, sustainably!


