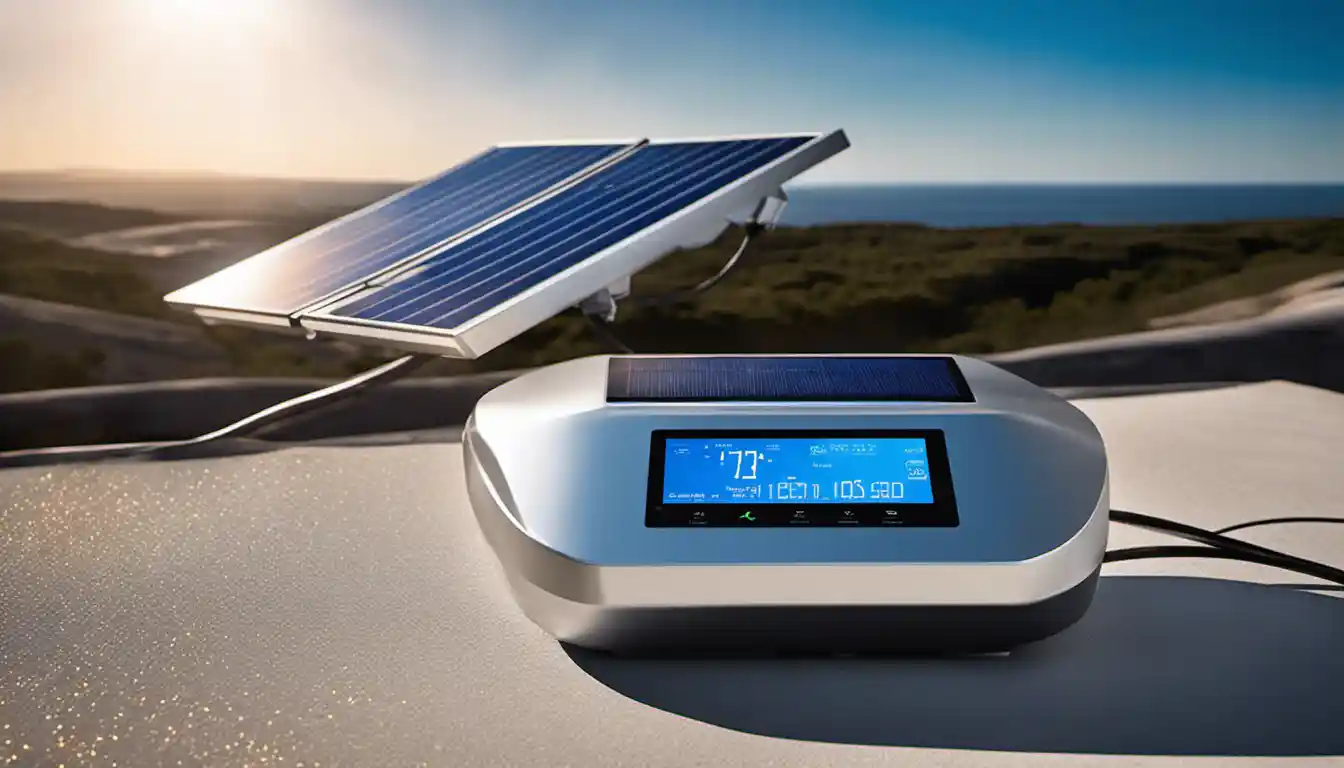
Introduction: Basics of Solar Panel and Battery Connection
To connect a solar panel to a battery, you’ll first need a solar charge controller which regulates the voltage and current coming from your solar panels. Then, connect the solar panels to the charge controller and finally connect the charge controller to the battery. Always ensure that the connections are made in the correct sequence and polarity to avoid damage.
Why Use Solar Panel and Battery?
Solar energy is a fantastic, renewable source that is not only friendly to the environment but can also save you a significant amount on utility expenses. A solar battery is crucial in storing this generated energy for night-time usage or during power outages. Understanding how to connect batteries to solar panels is an essential skill when harnessing this off-grid resource.
See also: Wiring Solar Panels to 2 Batteries (Key Guide)
Understanding Solar Panel and Battery Connection
It’s important to note that installing a solar panel battery is not as straightforward as plugging into an outlet. The process involves many intricate parts and processes that work together to convert sunlight into electricity. However, when you understand the basics, connecting batteries to solar panels can be surprisingly simple!
See also: Charging Multiple Batteries With One Solar Panel (Here’s How!)
Preparing for the Connection: Necessary Materials and Tools
See also: Use 24v Solar Panel with 12v Battery (Here’s How!)
List of Required Materials
To connect your solar panel to a battery, you’ll need:
- Solar Panels
- A Battery (preferably a deep-cycle battery)
- Solar Charge Controller
- Solar Panel Mount
- Battery Cables
Before purchasing these items, consider visiting our pages to understand more about the best solar batteries and what size solar battery you may need.
See also: How to Convert 24v Solar Panel to 12v (Step-By-Step)
List of Necessary Tools

Tools required for the connection include:
- Wire cutters and strippers
- Screwdrivers
- Electric drill
- Multi-meter for testing the connections (optional)
See also: Convert 36v Solar Panel to 18v (+ 12v/24v Answers)
Step By Step Guide to Connect Solar Panel to Battery
Step 1: Understanding the Wiring Diagram
Locate your solar panel’s and battery’s terminals. They would usually be labeled positive (+) and negative (-). The wiring diagram is simple- connect the positive end of the solar panel to the positive terminal on the charge controller, the same applies to the negative ends.
Step 2: Making the Battery Cables
Using the wire cutters, cut enough wire to connect your solar panels to the charge controller. Also, cut a wire to connect the charge controller to the battery.
Step 3: Connecting the Battery to the Charge Controller
First, connect the battery to the charge controller before the solar panels. This is crucial as connecting in the wrong order can damage your equipment.
Step 4: Connecting the Solar Panel to the Charge Controller
Now it’s time to connect the solar panel to the charge controller using the cables you prepared. Finally, place the solar panel in the sun. If you’re wondering can I connect solar panel directly to battery, it’s not recommended without a solar charge controller.
Step 5: Placing the Solar Panel in the Sun

Aim the solar panel towards the sun for maximum productivity. The positioning can make a tremendous difference in your panel’s electricity production.
Understanding Solar Charge Controllers: A Vital Component in the Connection
What is a Solar Charge Controller and Its Uses
A solar charge controller regulates the energy coming from the solar panels before it reaches the battery and prevents damage from overcharging.
Different Types of Solar Charge Controllers
Simple 1 or 2-Stage Controller
These offer basic protection against overcharging. These controllers, however, lack efficiency and precision compared to more advanced types.
MPPT Solar Charge Controller

MPPT controllers are highly efficient and allow the solar panels to operate at their maximum power point. This can result in significant energy savings.
PWM Solar Charge Controller
PMW controllers work by matching the solar panels’ output voltage with the battery’s voltage, providing a simple and efficient charging solution.
Why Do You Need a Solar Charge Controller?
A solar charge controller is crucial for preventing battery damage caused by overcharging.
Dealing with Common Questions and Issues
Confusion may arise regarding fuses and connecting terminals or determining the optimal place for the solar array. The guide above addresses these queries. Additionally, note that the connection process remains same for deep cycle batteries and even Tesla’s Power-wall!
Going Beyond the Basic System: Extending Your Solar Power System
Congratulations! Now you know how to connect solar panel to battery! But why stop here? Imagine charging your Tesla with solar panels, running appliances with a 100 Watt solar panel, or reducing your carbon footprint dramatically! Harness the power of the sun and power up your world! Now that you’ve built a solid foundation, you can dream bigger with your solar power system!
Concluding Thoughts: Harnessing Solar Power in Your Home
Embracing solar technology is a massive stride towards a sustainable future. Although the process of learning how to connect batteries to solar panels may seem daunting at first, with patience, the right tools, and this comprehensive guide in your hands, you’ll be soaking up the sun in no time! Indeed, the future is brighter with solar energy. Enjoy your journey into harnessing this magnificent gift from nature.


