Understanding the Benefits of Cleaning Solar Lights with Toothpaste
Cleaning solar lights with toothpaste involves using a non-abrasive toothpaste and a soft cloth to gently rub the toothpaste over the solar panel surface. Once you have scrubbed the entire panel, rinse it off with warm water. This method helps to remove dirt and other marks, which can increase the efficiency of your solar lights.
Why it’s effective
Toothpaste is an excellent tool for cleaning solar lights. It makes use of fine, non-abrasive particles that effectively polish off dirt and grime without scratching or damaging the solar cells. It’s similar to how toothpaste tackles plaque on teeth! This surprising yet effective cleaning agent will help your solar lights sparkle like stars in the night sky.
Improves longevity of the solar lights
Regularly cleaning solar panels with toothpaste not only improves their performance but also their longevity. By eliminating scratches and degradation caused by harsh outdoor elements, you are effectively lengthening the service life of your solar lights.
Necessary Materials for Cleaning Solar Lights with Toothpaste
Before we dive into the steps for “cleaning solar lights with toothpaste,” let’s gather our essentials:
- Soft cloth
- Non-abrasive toothpaste
- Warm water
- Dry towel or cloth
- Optional: baking soda
Step-by-step Guide to Cleaning Solar Lights with Toothpaste
Now that you’re equipped with all the necessary cleaning tools, let’s get on with the cleaning process!
Step 1: Removing the Solar Light from its Fixture

Safety first, my dear friends. Before you begin the cleaning process, be sure to remove your solar light from its fixture. This way, you can clean the solar light panel more effectively, and it allows you to avoid potential hazards associated with water and electricity.
Step 2: Clearing Loose Dirt and Debris from the Solar Light
Before applying toothpaste, use a soft cloth to wipe off any dust, dirt, or debris that may have accumulated on the solar light surface. This pre-cleaning step ensures that the toothpaste can effectively work its magic on the light panel.
Step 3: Moisten the Toothpaste
Put some toothpaste on your soft cloth and add a little warm water to make a paste. Remember, we’re aiming for a muddy consistency that’s easy to spread on the solar panel.
Step 4: Applying Toothpaste to the Solar Light
Once you have your toothpaste mixture ready, rub it gently but thoroughly onto the solar light panel. Like a painter with his canvas, treat your solar light with care and ensure the toothpaste concoction is spread evenly.
Step 5: Scrubbing the Solar Light with Toothpaste
This is where the deep cleaning occurs. Gently scrub the panel using small circular motions. Take your time with this; you want to ensure that the toothpaste is working its way into every nook and cranny.
Step 6: Rinsing the Solar Light with Water

After brushing away those solar cell blues, it’s time to rinse. Thoroughly wash off the toothpaste mixture using warm water. You can use a spray bottle for a gentle rinse, ensuring no damage to the panel.
Step 7: Drying Off the Light with a Paper Towel or Cloth
Tap your dry cloth or paper towel along the panel gently to remove excess water.
Step 8: Allowing the Solar Light to Dry
Take a break and give your light enough time to air dry completely. This is crucial to prevent any possible water damage from the rinse.
Step 9: Reassembling the Solar Light
Now that your solar panel is clean and dry, it’s time to put it back in its place and watch it shine brighter than ever!
Cleaning Solar Lights with Toothpaste and Baking Soda
Did I mention you can also clean solar lights with toothpaste and baking soda? Baking soda, like toothpaste, contains light abrasive properties that can provide a deeper clean. The steps are pretty much the same, except this time, you’d add a teaspoon of baking soda to your toothpaste mixture.
How to Clean Cloudy Solar Lights

As solar lights age, they can become cloudy, reducing their effectiveness. Cleaning them involves the same “cleaning solar lights with toothpaste” method discussed above. If your solar lights are still cloudy after cleaning, it might be an indication to replace the panel.
Common Mistakes to Avoid While Cleaning Solar Lights with Toothpaste
Be sure to avoid using toothpaste with large abrasive particles or whitening properties. Also, avoid scrubbing too hard on the solar panel surface to prevent scratches or damage. Lastly, ensure your solar light is completely dry before reassembling to prevent damage due to water exposure.
Do Solar Panels Still Work When They’re Dirty?
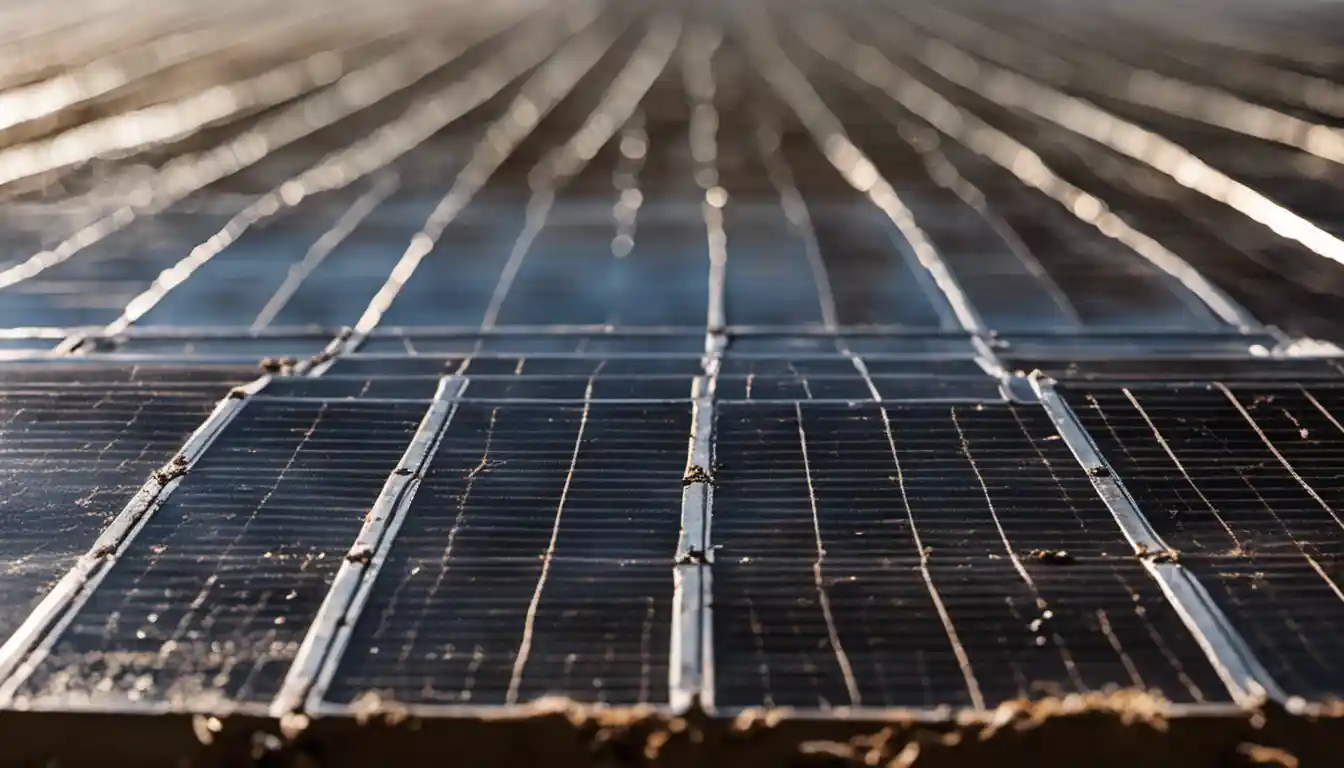
A dirty solar panel can heavily affect the performance of your solar lights. The more dirt and grime, the less efficient your panel becomes, as it blocks the solar cells from absorbing sunlight. Thus, regular cleaning of your solar panels is essential.
How Do You Know If Your Solar Lights are Going Bad?
If your solar lights are consistently dim or not as bright even after our “cleaning solar lights with toothpaste” process, it could be a sign they’re leaving for the big night sky in the sky. Check out this detailed guide on how to clean solar lights, which will provide you with in-depth knowledge to troubleshoot, prevent and solve such issues.
What should you not do when cleaning solar lights?
When cleaning solar lights, it’s vital not to use abrasive cleaners or hard brushes, as this could damage the solar panel. You also shouldn’t clean the lights while they’re in direct sunlight to avoid potential cracks from rapid temperature changes caused by the water.
Wrap Up
So, there you have it – a comprehensive guide on “cleaning solar lights with toothpaste.” Remember, maintenance is key for performance and longevity in solar lights. Would love to hear about your experiences and ventures with solar light cleaning. Do share them in the comments section below. Happy cleaning!


