
Introduction to Ground Mount Solar Racking
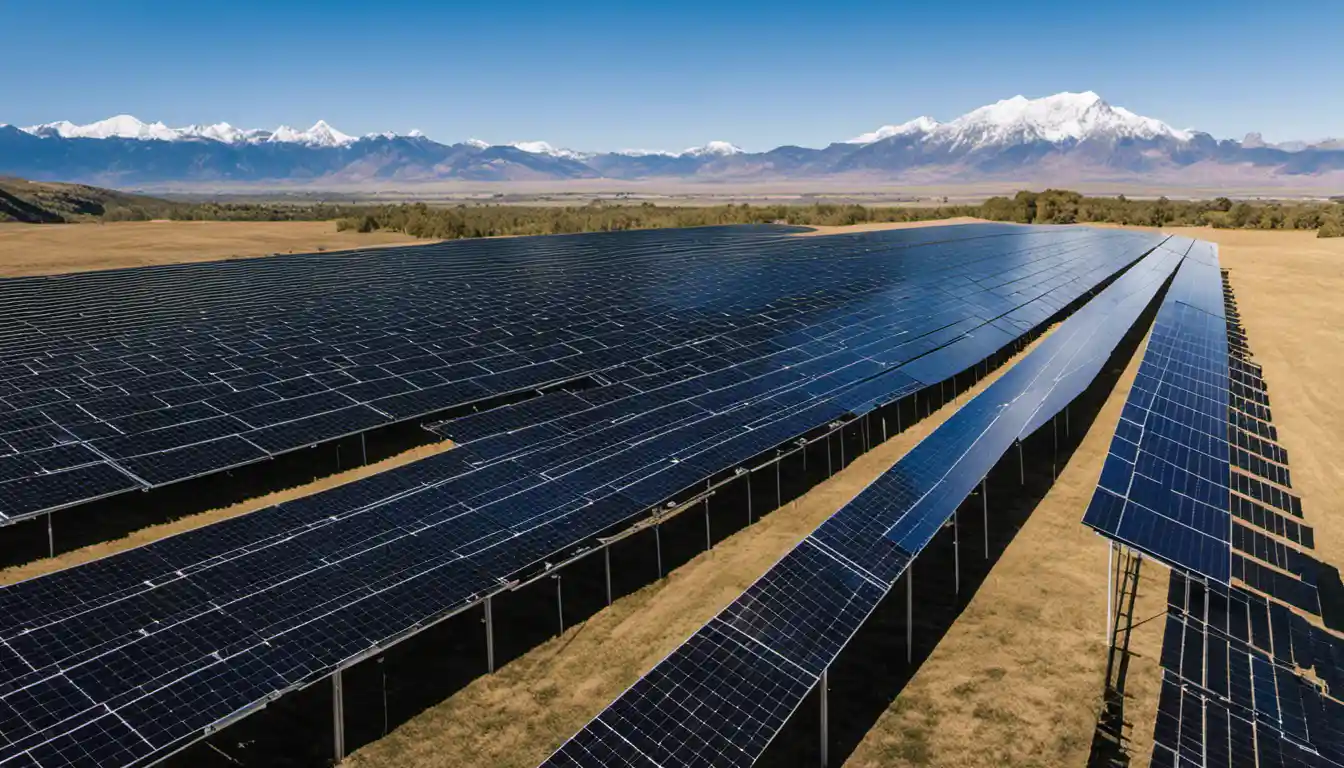
DIY ground mount solar racking refers to the process of building your own support structure for solar panels on the ground rather than on a roof. This typically involves the use of steel or aluminum rails, which the solar panels are mounted onto. It requires some construction and electrical knowledge as well as appropriate equipment for safe and successful installation.
Preparing and Planning Your DIY Ground Mount Solar Project
Every good DIY project starts with proper planning. In the case of DIY ground mount solar racking, this means evaluating your location. Some questions to ask yourself are – where does the sun rise and set in relation to my desired installation site? Are there any structures or foliage that could obstruct sunlight?
Next, you’ll need to source quality materials. This will involve some research—comparing the strength, durability, and cost of materials from different suppliers.
Don’t forget to set realistic timelines for your project. Installing DIY ground mount solar racking isn’t a weekend job; it’s something that needs time and patience. Lastly, you’ll need to evaluate your budget. Remember to account for solar panels, batteries, inverters and, of course, your racking system.
Choosing the Right Solar Panel Size
The size of your solar panel plays a crucial role in determining the efficiency of your DIY ground mount solar racking system. While smaller solar panels might fit neatly onto your racking, they might not provide you with the energy you need. Conversely, bigger panels might generate a significant amount of power but could prove challenging to fit onto your racking.
The capacity of different size panels is something to consider too. A small panel that’s very efficient could potentially generate more energy than a larger panel that’s less efficient.
Using Standard Solar Panel Racking Systems
You might be tempted to design your racking system, but remember, the safety and longevity of your solar panels depend on the racking system’s support. Therefore, using standard solar panel racking systems is advisable. They are designed to withstand the elements and to ensure the maximum output from your solar panels.
Whether it’s roof or pole mount racks, top-of-pole mounts or side-of-pole mounts, each has its unique assembly procedure and fits certain types of projects. Familiarize yourself with these different mounts on our guide to solar panel mounting before embarking on your project.
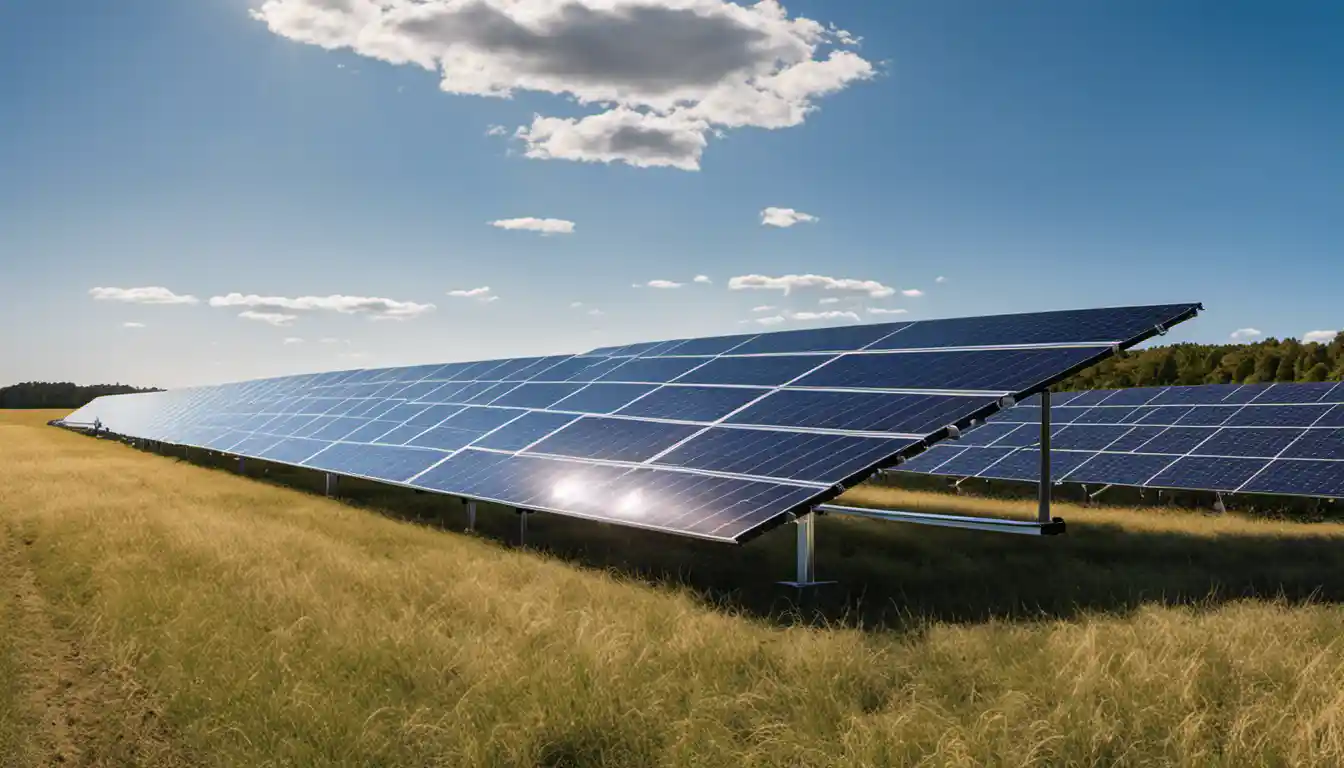
Correctly Tilting Your Ground Mount Solar Racking
The tilt of your ground mount solar racking can affect the amount of sunlight your panels receive, thus influencing their energy output. The ideal tilt depends on your geographical location.
The rule of thumb is to set the tilt angle equal to your latitude for year-round energy production. Nonetheless, adjusting the angle may be necessary for different seasons—tilt it higher in winter and lower in summer to capture more direct sunlight.
Managing Installation Hazards
Like with any DIY project, potential hazards can occur during the installation of a ground mount solar racking system. Safety and foresight are necessary. Always ensure to turn off the electrical power before starting and wear protective gear. Ground-based systems may be at a higher risk for flooding or soil erosion, consider these points during installation.
Wiring and Conduit Management
After mounting your solar panels on the racking, the next big step is wiring them up to your home’s power grid. This requires a solid understanding of electrical systems, as incorrect wiring can lead to inefficient solar energy production or, worse, dangerous conditions.
Practice smart conduit management, such as neatly running wires along the frame and using strong ties or clamps. Safety should be your number one priority—always use an electrical conduit to protect wires from damage and ensure no wires are left exposed.
Preparing for Inspection and Maintenance
After successfully figuring out how to make ground mount solar racking DIY, the next step is preparing for inspection and maintenance. Pre-inspect your system to ensure everything is installed correctly and functioning as desired.
Regular maintenance of your DIY ground mount solar racking system is crucial in ensuring its longevity and optimal performance. Create a routine to check for any loose screws, worn-out connectors, debris on panels, and so forth.
Collaborating with a Reputable Company for Equipment Supplies
Remember when I mentioned the importance of sourcing quality materials for your DIY ground mount solar racking? It’s a key part of ensuring that your setup can withstand the various weather conditions and continue to perform optimally over the years.
To ensure you’re getting high-quality products, collaborate with a reputable company for your equipment supplies. Look at their customer reviews and check how they handle warranties and after-sales service.
Conclusion: Steps to Switching to Solar
Your journey doesn’t end with mounting the solar panels. After installing your DIY ground mount solar racking, monitoring, adjusting and maintaining are crucial to ensure a successful switch to this environmentally friendly energy source. Your efforts and perseverance have now been rewarded with a greener lifestyle, and the satisfaction of a successful DIY project.
With every sun rise and set, you can proudly look at your solar panels, knowing they were a labor of love and are now contributing to a cleaner, more sustainable future. Happy solar energy harvesting!
