
Introduction to Solar Charge Controller
A DIY solar charge controller is a device that you can build yourself to regulate the voltage and current coming from your solar panels. It is used to maintain the proper charging voltage on the batteries, preventing overcharging and thus protecting your solar battery storage system. Instructions and tutorials for making one can typically be found on websites related to electronics and solar energy.
Definition of Solar Charge Controller
Simply put, a solar charge controller is the guardian of your solar energy system. It controls the energy coming from the solar panels and ensures it is safely delivered to your batteries without overcharging them and causing damage.
Importance of Solar Charge Controller
Imagine you are a guest at a dinner party. The host is constantly pouring wine into your glass, not considering if it’s full or not. The result? A mess. The same thing can happen to your solar batteries without a solar charge controller. It ensures your batteries are filled at the right pace, preserving their lifespan and efficiency.
Understanding How a Solar Panel Charge Controller Works
Now that you appreciate the role of a solar charge controller, let’s take a deeper look into its workings.
Basic Operation of a Solar Charge Controller
Like a referee in a sports match, a solar charge controller makes sure all players (in this case, your solar panels and batteries) play by the rules. It regulates the voltage and current from the solar panels, making sure your batteries are not overcharged. Too little charge and your batteries won’t power your devices for long, too much and you’ll damage them.
Components Needed in a Solar Charge Controller
The key components of a solar charge controller are a voltage regulator, a couple of transistors, resistors, capacitors, and diodes. And of course, your DIY spirit!
DIY Solar Charge Controller
Ready to get your hands dirty? Let’s dive into building your solar charge controller!
List of Materials Required
Here are the components you’ll need:
- A voltage regulator (LM317)
- Two transistors (2N2222)
- Resistors (240 and 510 ohm)
- Capacitors (10uf and 0.01uf)
- Diodes (1N4007 and IN4937)
- Heat Sink
- Wires
- Soldering Iron
- A small piece of Veroboard or a PCB to mount the components
Preparing the Components
This is where your DIY prowess shines! Start with organizing all your materials neatly on your workspace. It will help avoid confusion during the assembly process.
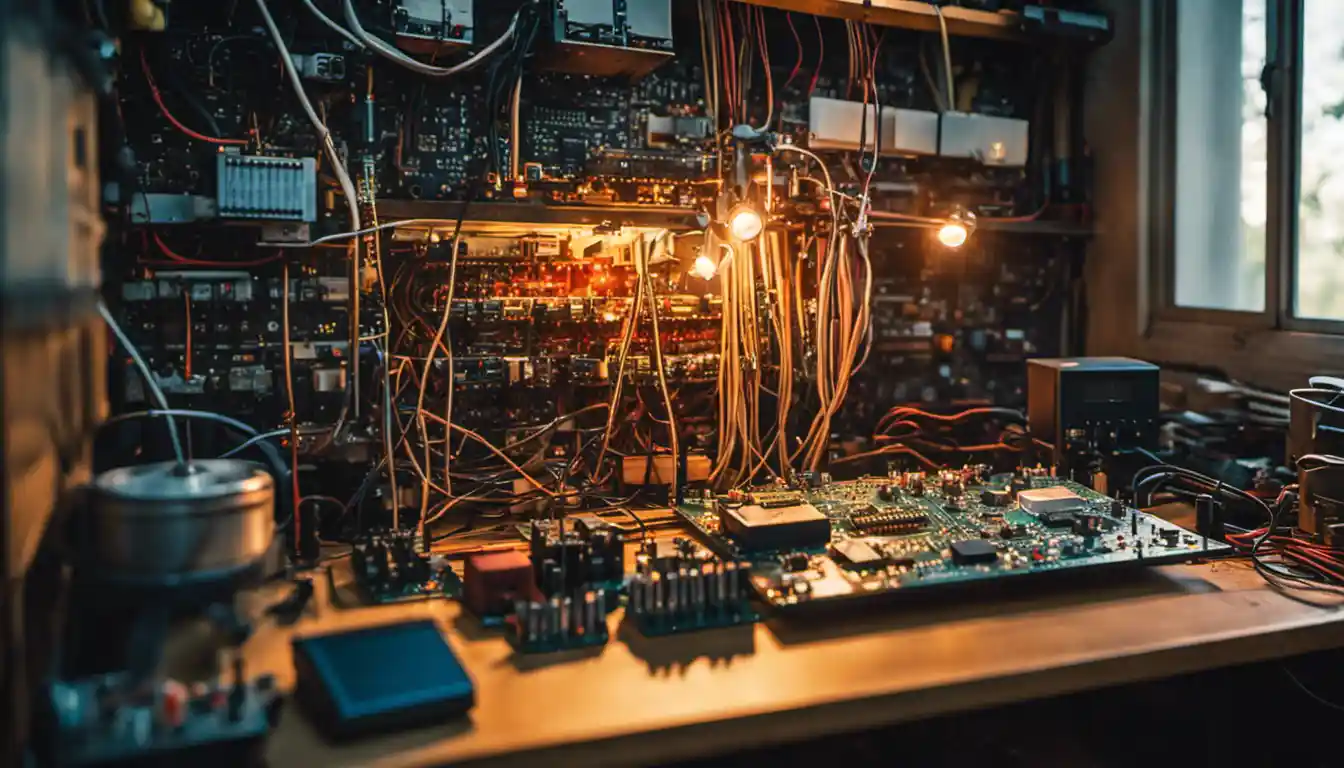
Step-by-Step Process to Assemble a DIY Solar Charge Controller
Now onto the actual building process. Remember, circuit building is like a puzzle – each piece has its place and role:
- Start by soldering the voltage regulator (LM317) to the PCB board or Veroboard.
- Connect the resistors and the capacitors following the schematic diagram [please insert a graphic diagram here]
- Connect the diodes (observe polarity).
- Incorporate the transistors into the circuit.
- Make sure all connections are secure and there are no short circuits.
- Attach the heat sink to the voltage regulator.
- Connect the charge controller to the battery and solar panel.
Here’s more information on what a solar charge controller does.
Building the Solar Charger Circuit
The next stage in your DIY solar charge controller project is to create the solar charger circuit.
How the Solar Charger Circuit Works
To understand how to build the circuit, you first need to understand how it works. The circuit ensures that the batteries are charged from the solar panel and blocks any reverse current flow during the night, preserving the stored energy.
Steps to Build the Solar Charger Circuit
- Start by arranging the components on the PCB or Veroboard.
- Solder the components together based on the schematic diagram.
- Check for any short circuits.
- Connect the circuit to your charge controller.
Custom Parts and Enclosures for DIY Solar Charge Controller
An important part of a DIY solar charge controller is the external enclosure which protects the components from physical and environmental damage.
Using Gerber Files for Custom Parts
Gerber files are used by PCB fabrication houses to create the PCB. In our case, we’ll use this file to make our custom PCB for the DIY solar charge controller.
Creating an Enclosure
Look for a plastic or metal box that can fit all the components and has enough space for wiring. Drill holes for wires and mount the PCB inside the enclosure.
Schematic Diagrams for Solar Charge Controller Build
Understanding schematic diagrams is crucial in building a DIY solar charge controller.
Understanding Schematics

Schematics show how each of the components is connected in the circuit—like a map guiding you through the building process.
Front Layer of the PCB
The front layer of the PCB is where you will mount your components and solder them together.
Back Layer of the PCB
The back layer of the PCB has the copper traces connecting different parts of the circuit. Make sure not to accidentally damage these traces during assembly.
Closing Thoughts on Building Your Solar Charge Controller
Well, there you have it: your step-by-step guide to building your own DIY solar charge controller. Remember to always take safety precautions when working with electronics.
Pitfalls to Avoid
Always double-check your connections and make sure the components are in the right place. And do not improvise—always follow the schematic diagram.
Enhancements and Potential Improvements
As you become more proficient at building your DIY solar charge controller, you can start tweaking it to your heart’s content. Add features like LED indicators or an LCD display showing the charge status.
There you have it: your very own DIY solar charge controller. Through this guide, you’re not just saving money on your energy bill, you’re also becoming more eco-conscious. The benefits of solar energy are not limited to energy independence and cost savings; it also contributes to the longevity of our beautiful planet. Happy building!
