
Introduction
To clean solar lights, first, you need to remove any dust and dirt from the solar panel surface using a soft cloth or sponge. If the initial clean doesn’t remove the dirt, you can use mild soapy water for a more thorough clean. It’s important to dry them thoroughly afterwards or place them in direct sunlight for drying out, as water residue can damage the function of the solar lights.
The Importance of Cleaning Solar Lights
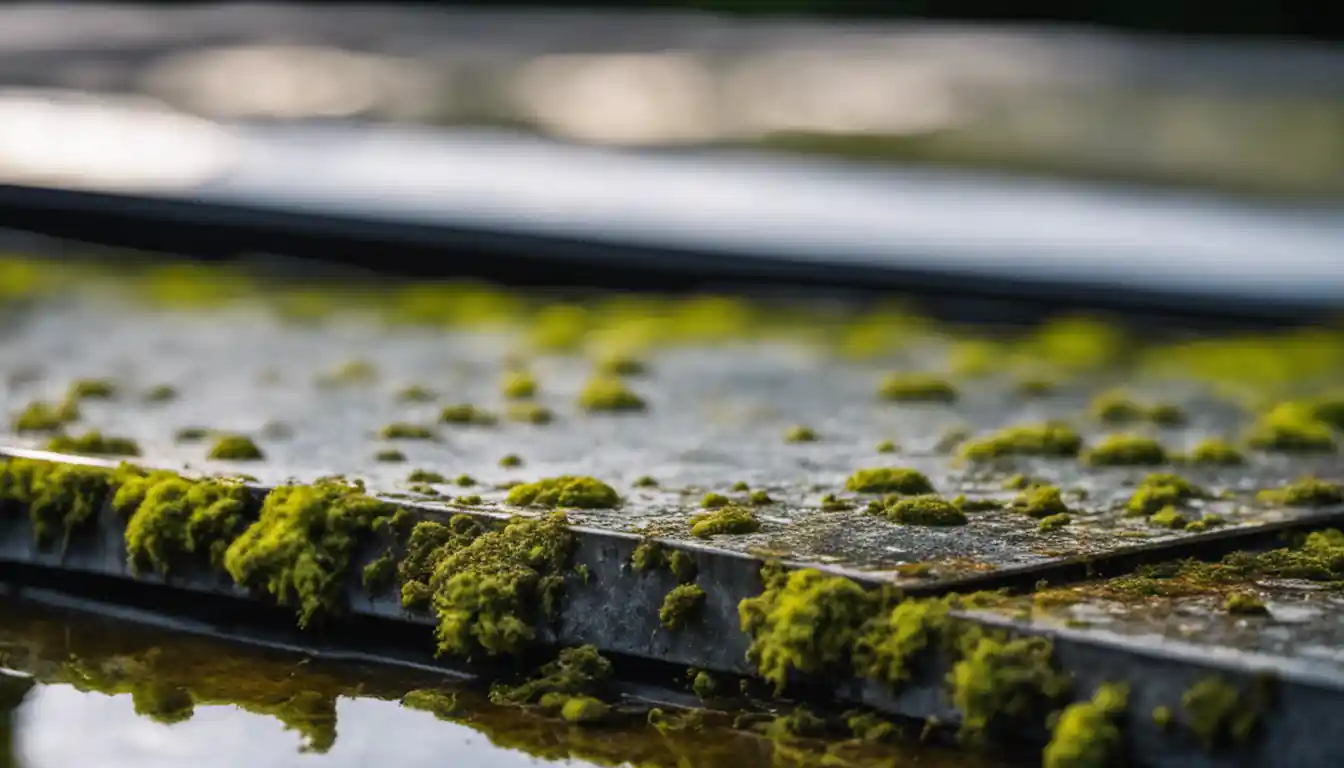
Regular maintenance of solar lights is a must. Just like windows, over time, solar lights can accumulate dust and grime due to exposure to harsh weather conditions. This layer of dust and dirt can hinder the solar panels from absorbing sunlight efficiently, reducing the overall performance and thrusting us into avoidable darkness. Therefore, understanding how to clean solar lights properly can prolong their life and keep them shining bright.
Understanding the Different Parts of Solar Lights
Knowing your way around your solar lights components is a key step towards effective cleaning. Essentially, solar lights consist of three main components: the solar panel, light lens, and battery.
Solar Panel
This is the heartbeat of your solar light. It absorbs sunlight and converts it into electrical energy that powers the light at night. Keeping this part in pristine condition ensures that your solar lights will work optimally.
Solar Light Lens
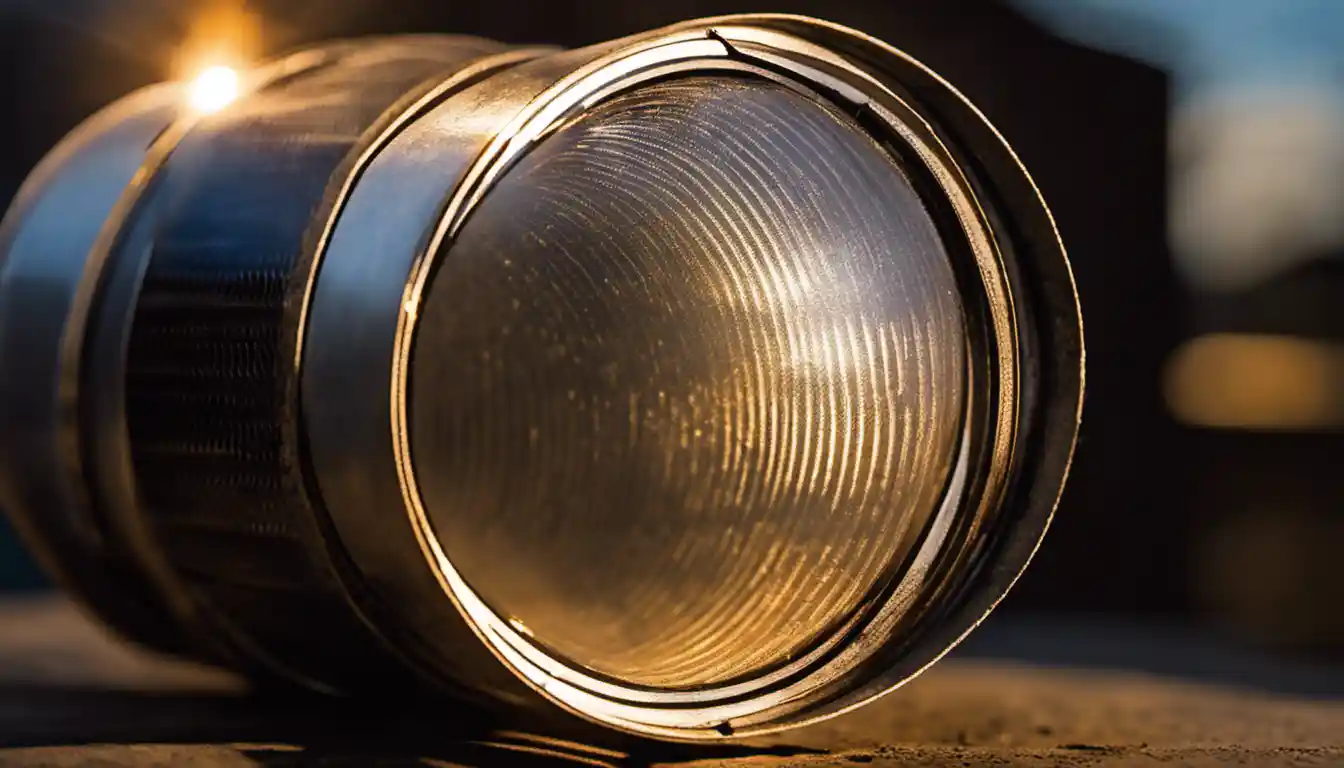
This part helps focus the light properly. A dusty or hazy lens can disperse or diminish the light it emits, leading to less efficient lighting.
Battery
Batteries store the energy generated from the solar panel and power your solar lights at night. Over time, they may experience corrosion, affecting their efficiency.
Tools Needed for Cleaning Solar Lights
You might be puzzled, thinking about what you could possibly need to clean these solar lights. Here’s the good news: the tools you need are likely already in your home!
Cleaning Panel and Lens
- Soft brush or cloth
- Mild dish soap
- Warm water
- Soft dry towel
For tackling more persistent grime, household items such as vinegar or toothpaste come in handy. Curious? Our dedicated articles cleaning solar lights with vinegar and cleaning solar lights with toothpaste cover these methods thoroughly.
Dealing with Battery Corrosion
- Disposable gloves
- Baking soda
- Small old toothbrush
- Soft dry cloth
Now, armed with our knowledge and tools, let’s get to work on how to clean solar lights!
Step-by-Step Guide to Clean Solar Lights

Before You Begin
Before you start, make sure the solar lights are switched off to avoid any hazard. Be mindful about weather conditions as well, as cleaning and letting them dry on a sunny day would be ideal. If that’s not an option, a dry indoor spot will work too!
Cleaning the Solar Panel
Step 1: Firstly, dust off loose dirt from the solar panel using a soft brush. This pre-cleaning step will make the subsequent steps easier.
Step 2: Mix some mild dish soap with warm water. Soak the soft cloth or sponge into the soapy solution.
Step 3: Gently clean the solar panel with the soapy cloth or sponge. The key here is to be gentle and avoid scrubbing too hard as this may scratch the panel surface.
Step 4: Rinse off the soapy solution from the panel with clean water, ensuring there’s no soap left.
Step 5: Dry the panel with a soft, dry towel, or let it air dry in the sun.
How to Clean Solar Light Lens
Similarly, to clean the solar light lens, you can follow the same steps as cleaning the solar panel above. The lens, too, must be handled with care to prevent any scratches.
Dealing with Cloudy Solar Panels
Grime and mildew can sometimes make solar panels cloudy, reducing their ability to absorb sunlight. Check out our detailed guide on Cleaning Solar Panels to restore efficiency to your solar lights!
Removing Battery Corrosion
If your solar light isn’t working even after cleaning the panel and lens, you might be looking at a corroded battery.
Step 1: Wearing disposable gloves, remove the battery from the solar light.
Step 2: Make a baking soda paste (a few tablespoons of baking soda and a little water should do it) and apply it on the corroded terminals of the battery.
Step 3: After a few minutes, gently scrub the corrosive deposits using an old toothbrush.
Step 4: Wipe the terminals clean with a dry cloth, ensuring no baking soda residue remains.
Conclusion
Mastering how to clean solar lights isn’t just about making them shine brighter. It’s about ensuring efficient energy use, prolonging their lifespan, and getting the most out of your investment.
Expert Advice and Tips for Cleaning Solar Lights
Maintain a regular cleaning schedule, ideally once every 3 months, to keep your solar lights at peak performance. Always handle parts with care to avoid damage. Remember, sometimes, it’s not dirt that’s the problem: it could be the age and quality of your solar lights that’s affecting their performance.
Frequently Asked Questions about Cleaning Solar Lights
In penning down this detailed guide, I’ve covered the main elements, tips, and steps for cleaning your solar lights. However, some intriguing queries pop up in the pursuit of solar cleanliness. Stay tuned for our engaging roundup on FAQs about cleaning solar lights!
