Prerequisites
To connect a solar panel to a Ring camera, first, connect the mounted solar panel’s micro USB plug into the charging port of the Ring camera. Once plugged in, ensure they are installed in an area that gets ample sunlight to maintain sufficient battery charge. Make sure to follow specific instructions on the Ring Camera and Solar Panel user manuals for full details and safety precautions.
Understanding the Layout of Ring Camera and Solar Panel
Before delving into the details of connecting your solar panel to your Ring camera, the first step involves understanding the layout of both. The Ring camera typically comes with a weatherproofing plug located at the back – this is the location we’ll connect our solar panel to. As for the solar panel, note the placement of the charging cable and mounting arm as these will become extremely important in setting up and connecting processes.
Collecting Necessary Tools and Items
A successful installation doesn’t happen without some essential tools. Get a power drill for securing the mount, a spirit level for aligning the solar panel, safety gloves and goggles, and a ladder for heights. Also, prepare the Ring camera, solar panel, and accompanying cable and screws that come in the Ring solar panel package.
Selecting the Install Location
Factors to Consider when Choosing Location
Sunlight Availability
Success in connecting your solar panel to your Ring camera primarily depends on where they are installed. Aim for a position that gets a ton of sunlight; this maximizes the charging efficiency of your solar panel. A south-facing direction with minimal to no shade interruption between 9 am to 3 pm is perfect.
Camera Angle for Optimal View

Effective surveillance is key. Consider a location providing the best view of your property. Remember, the pan, zoom, and tilt functions of your camera when aligning the Ring Camera’s field of view.
Proximity to Your Ring Camera
Getting the best wire management implies installing the solar panel where it can comfortably reach the Ring camera. The standard Ring solar panel comes with a 13ft. cable, so any location within this range is perfectly fine.
Installation Process of the Solar Panel
Step One: Aligning the Solar Panel
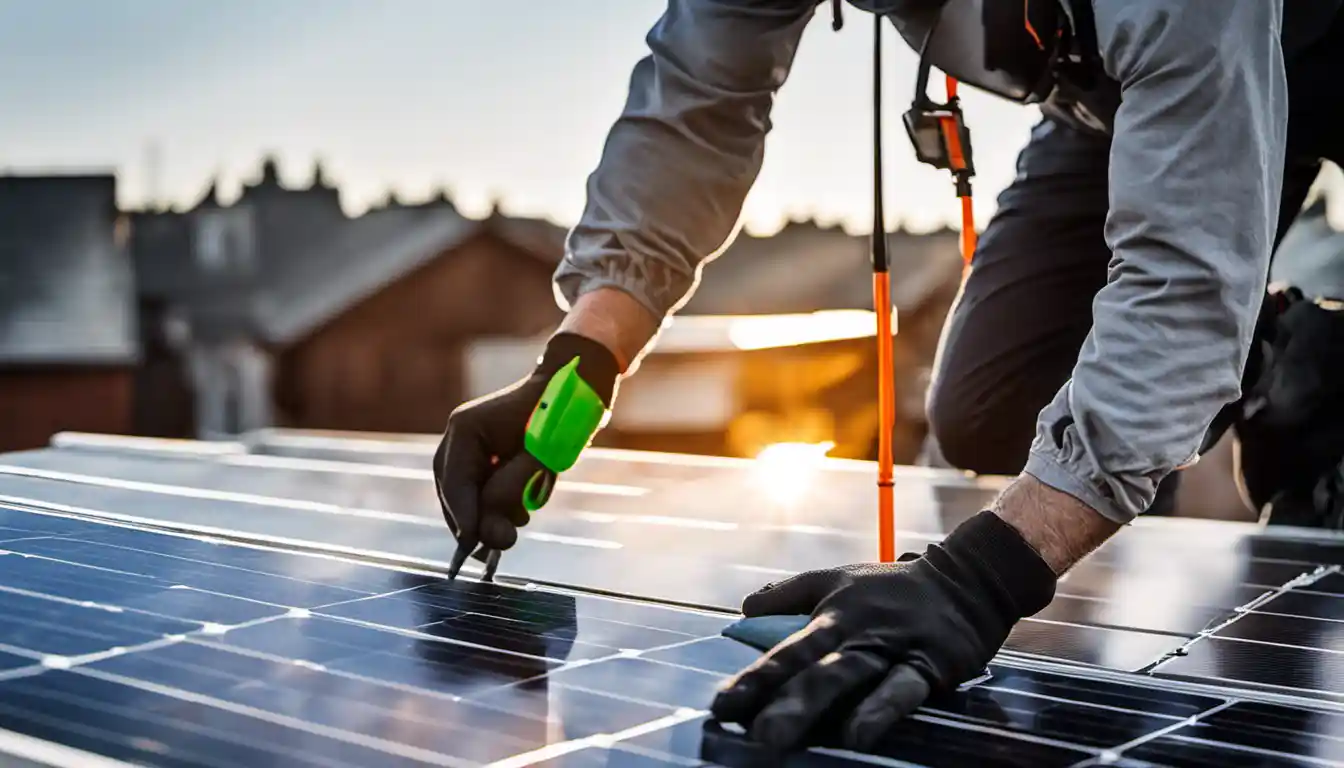
Having chosen a location, the next step is aligning the solar panel to capture maximum sunlight. A pro tip is to point the solar panel to the south direction and tilt it at an angle matching your location’s latitude.
Step Two: Drilling Holes
Using your power drill, make holes into your wall for screws. If you’re installing on different surfaces like brick or vinyl, consider using special drill bits. Always wear your safety goggles when drilling.
Step Three: Setting up the Mounting Arm
Post-drilling, attach the mounting arm by screwing it tightly onto the wall. Ensure it’s snug by confirming the connection strength.
Step Four: Mounting the Solar Panel
Now, attach the solar panel to the pre-installed arm. Remember to double-check and ensure it’s securely fit.
Connecting the Solar Panel to the Ring Camera

Step Five: Removing the Weatherproofing Plug
Don your safety gloves and proceed to remove the weatherproofing plug at the back of the Ring camera. This reveals the slot where your micro USB charging cable plugs in.
Step Six: Connecting the Solar Panel Charging Cable to the Ring Camera
Connect your solar panel charging cable to the Ring camera’s port until it clicks, guaranteeing a secure connection.
Final Step: Completing the Mounting of the Ring Camera
You’re almost there! Now, mount the Ring camera onto its designated location ensuring it’s close to the solar panel.
Troubleshooting Common Issues
It’s common to come across a few hurdles when connecting your solar panel to the Ring camera. However, with experience, it becomes a walk in the park. Some problems that might arise include:
Insufficient Power from Solar Panel
When your camera can’t power up, try a new location that affords maximum sunlight. Weak or inconsistent sunlight can affect battery charging.
Incorrect Installation of Solar Panel

Improper alignment can lead to charging inefficiency. Using a spirit level during installation will ensure the panel is perfectly positioned.
Improper Connection to Ring Camera
Carefully follow the connecting steps earlier mentioned. A loose or incorrect connection can interrupt proper functioning.
Maintenance Tips for Solar Panel and Ring Camera
Extending the lifespan of your Ring camera and solar panel requires occasional maintenance like:
Regular Cleaning
Dust and debris can lead to reduced efficiency. Wipe your solar panel with a damp cloth regularly to maintain high production.
Checking and Retightening of Fastenings
Bad weather may cause loosening. Check the mounts frequently and tighten any loose screws.
Monitoring Power Supply from Solar Panel to Camera
Especially during winter, check the power levels. If it drops, realign or clean your solar panel.
Wrap Up: Maximizing the Efficiency of your Solar-powered Ring Camera
While it might seem daunting, connecting your solar panel to the Ring Camera becomes easier with practice. Not only does solar charging offer an eco-friendly energy solution, but it also saves you from the hassles of frequently changing batteries. Newly familiar with this process? Check out our Ring Solar Camera Review to gain more insights and understand its benefits. With this guide, you’re now a pro at connecting your solar panel to a Ring camera. Here’s to better home security powered by renewable energy!


