
How to Install a Solar Charge Controller in an RV: A Comprehensive Guide for Eco-Friendly Travel
To install a solar charge controller in an RV, first connect the battery, then connect the solar panel to the charge controller. Make sure the system is properly grounded. Specific steps can vary depending on the model of your solar charge controller and RV, so be sure to consult your manuals or a professional for more detailed instructions.
Introduction
Welcome everyone to another adventure in my world of solar energy. Today, we’re going to delve into how you can transform your RV into an eco-friendly, solar-powered vehicle. Our focus? The integral component of a solar-powered RV system – the solar charge controller. If you’re wondering what a solar charge controller is, it’s the device that regulates the charge from your solar panels, maintaining a safe electricity flow and extending the life of your batteries.
In my 20 years of experience in solar energy, I’ve seen many RV owners who are eager to go green, but are unsure of where to start. So, I’ve decided to share with you a comprehensive guide on ‘how to install a solar charge controller in an RV’.
Understanding Your RV’s Electrical System

Before we dive into the nitty-gritty of the installation process, let’s first understand the electrical system of your RV. You see, an RV typically has a battery bank for storing electrical power, a solar array to generate electricity, and a solar charge controller to mediate between the two.
Understanding these three components of your RV’s system is crucial for a successful solar controller installation. In particular, you need to know the voltage and current rating of your solar array, and the capacity of your battery bank. Thinking back to one of my earliest installations were I overlooked these factors, I learned a hard lesson in initial system evaluation.
Choosing the Right Solar Charge Controller
Like buying shoes, one size doesn’t fit all when it comes to choosing a solar charge controller. There are two main types; the Pulse Width Modulation (PWM) controllers, and Maximum Power Point Tracking (MPPT) controllers.
PWM controllers are cheaper but less efficient, due to their inability to fully convert excess voltage into current, an issue you won’t encounter with MPPT controller. On my many sunny expeditions, I’d favor the MPPT controllers, as they take full advantage of the sun’s power, especially beneficial for long road trips.
Your choice should be informed by factors like budget, the size of your solar array, and the capacity of your battery bank. For instance, if you have a large solar array and battery bank, an MPPT controller could be more efficient and cost-effective in the long run.
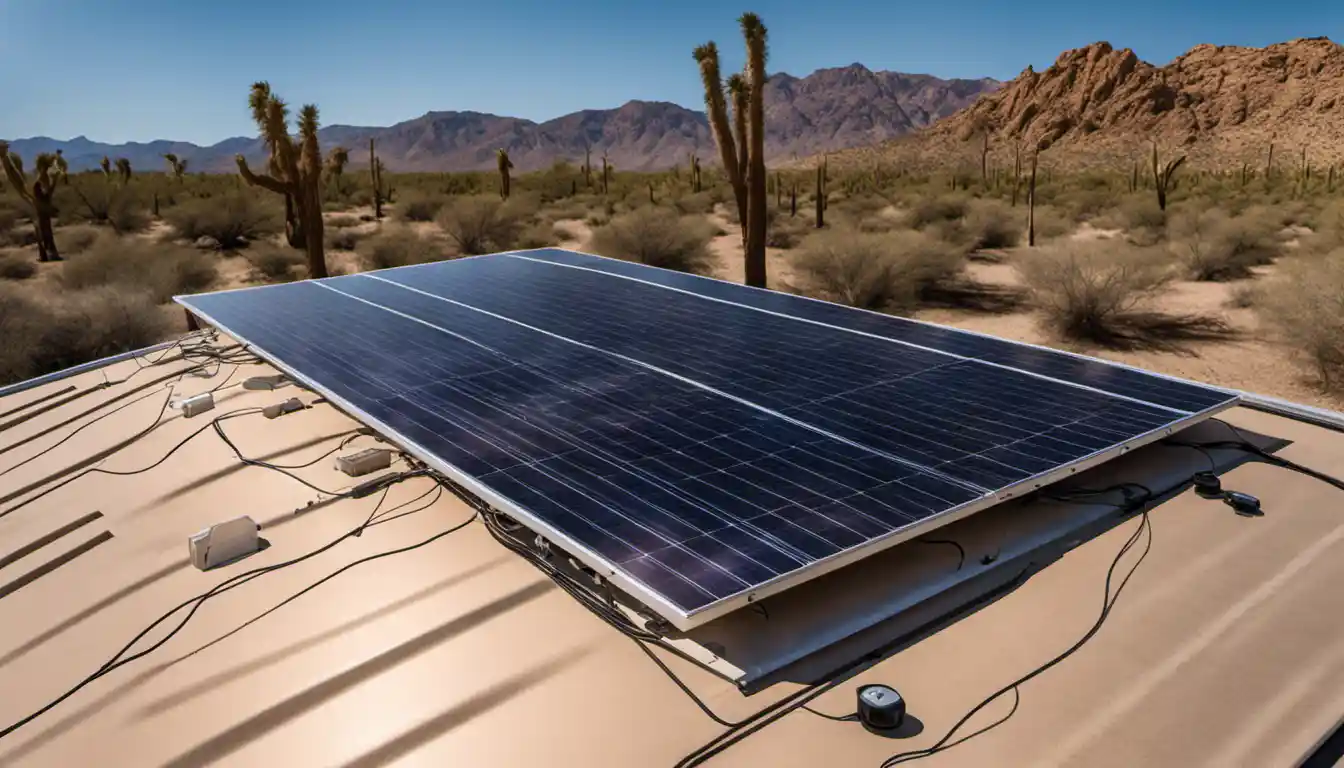
Where to Mount Solar Controller in RV

Deciding on where to mount a solar controller in your RV can be a synaptic question. It’s a topic that even sparked a friendly argument with a fellow electrical engineer during an RV get-together years ago.
You ideally want to mount the solar controller in a well-ventilated and easily accessible location. It needs to be both near the battery bank for charge efficiency and near the solar array for a smooth energy flow.
Most people prefer to mount it near their existing electrical panels for convenience. However, remember to keep it away from sources of excessive heat or moisture, as these can damage the device.
Step-by-Step Guide to Installing the Solar Charge Controller
Now, let’s get to the heart of the matter. Equipped with a good understanding of your RV system, the right solar controller, and a perfect mounting location, it’s crunch time: the installation.
Before we start, I want to share a vivid memory from my rookie days, where I skimped on pre-installation checks, and ended up having to redo the entire setup. It’s a moment that made me appreciate the importance of meticulous pre-checks.
Follow these steps for a hassle-free installation:
-
Pre-installation Check: Gather your tools and equipment. This includes your solar charge controller, appropriate connecting cables, battery terminals, screw drivers, a drill if needed, and most importantly, a multimeter for voltage checks.
-
Step 1: Disconnecting the RV’s Electrical System: To prevent any electrical accidents, it’s important to disconnect all electrical devices.
-
Step 2: Mounting the Solar Charge Controller: Using screws, mount the controller on your selected location. I have found that using rubber washers reduces vibration and increases the lifespan of the controller.
-
Step 3: Connecting the Solar Array to the Controller: Connect the positive and negative wires from the solar array to the controller’s respective input terminals.
-
Step 4: Connecting the Controller to the Battery Bank: Connect the controller to the RV’s battery bank again, paying attention to the polarity.
-
Step 5: Testing and Finalizing the Installation: Finally, test the system using the multimeter to ensure the charge controller displays the correct battery voltage and charging current.
Post-Installation Tips
I remember a trip I took to the Joshua Tree desert a few years back. My friend thought his newly installed solar setup was completely self-sustaining. Until one morning, he woke up with no power. Don’t make his mistake. Regular checks and maintenance are vital. Keep an eye on system performance, clean your panels regularly, and watch out for any anomalies.
Remember, the ultimate goal of learning ‘how to install a solar charge controller in an RV’ is to extend battery life and maximize the efficiency of your solar system. To truly attain this, maintain a habit of troubleshooting common issues – knowing your system well enables you to do this successfully.
Related reading: How to Install Solar Panels on your RV.
Conclusion
Installing a solar charge controller in your RV is a major step towards becoming a proud, eco-friendly traveler. It’s a technically satisfying task that not only feeds your DIY spirits but makes your travel life more sustainable.
The key to mastering ‘how to install a solar charge controller in an RV’ lies in understanding your RV’s electrical system, choosing the right solar charge controller, identifying the optimal location for mounting, executing the installation carefully, and performing regular checks and maintenance.
So, are you ready to embark on your solar-powered journey? Remember, the sun is the limit when it comes to harnessing green energy for your travels. Live and travel responsibly. The future generations will thank you for it.
