Introduction: Understanding Solar Pool Heaters
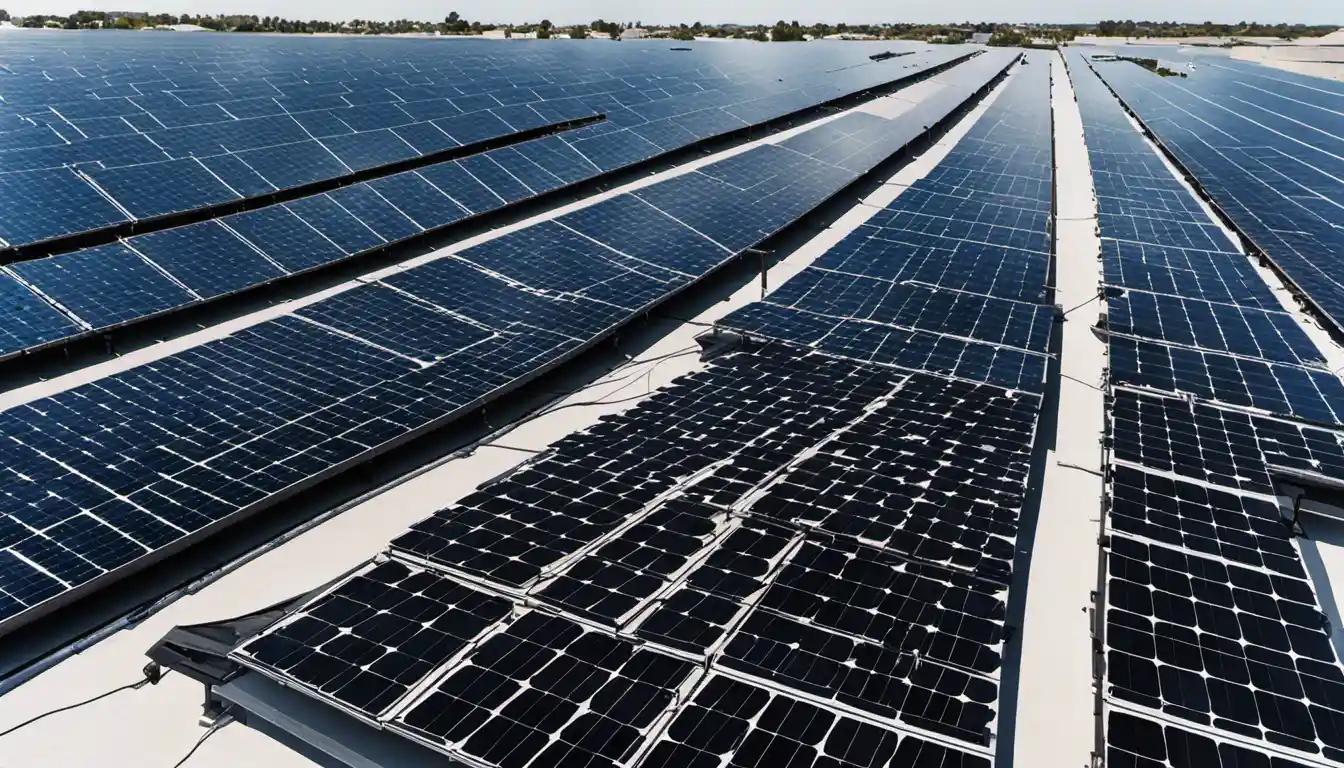
To install pool solar panels, first, decide the location where you’ll receive the most sunlight throughout the day and mount the solar panels there, typically on a roof or nearby structure. Next, connect the panels to your pool filtration system using pipes so that the water is pumped through the panels to be heated and then returned to your pool. It’s advisable to hire a professional for installation to ensure safety and efficiency.
Gathering Necessary Materials and Tools for Installation
Like any DIY project, pool solar panel installation has a list of required tools and materials. By taking the time to gather these elements in one place before starting, you streamline the installation process and minimize potential frustrations. The list of necessary items may slightly vary depending on the solar system brand, but some fundamentals will generally include:
- Solar panel kit
- Mounting hardware
- Pipe (Usually PVC)
- Pipe cement
- Pipe cleaner
- Fittings and valves
- Screws
- Screwdriver
- Drill
Key Considerations Before Installation
Assessing Sunlight Exposure
With the hardware at hand, it’s time to make some pivotal assessments. Remember, the aim is to optimize solar energy, and for the best results, your panels need maximum exposure to sunlight. Analyze your location between 10 am and 4 pm to assess which spots receive the most sunlight during these high sun hours. A rooftop usually makes for the best spot.
Securing Necessary Permits
Permit requirements will usually differ from one jurisdiction to another. In some areas, installing pool solar panels mandates permits, especially when it comes to complex those involving roof installations. Before you proceed, consult your local authority’s zoning rules or your Homeowner’s Association (HOA) regulations to avoid any red tape.
Types of Solar Pool Heaters and Selecting the Appropriate One
Above Ground Pool Solar Heaters

These are typically less complex to install since they don’t involve digging up your backyard. They comprise a panel that you lay out on the ground where it absorbs sunlight and heats the water circulating through it.
Solar Heaters for Inground Pools
These confer maximum cost-savings, featuring panels typically mounted on a nearby roof.
Setting up Pool Solar Panels
Remember, this process can vary quite a bit depending on the specific heater you’ve chosen. Here we provide a general step-by-step procedure.
Determining the Ideal Solar Panel Position
Think back to the sunlight exposure assessment. It’s time to put it to use. That place that had the best exposure between 10 am and 4 pm is your best option.
Deciding on the Appropriate Solar Panel Size
As a general thumb rule, your total solar panel area should be approximately 75% – 100% of your pool’s surface area. Thus, a more extensive pool will need more panels than a smaller one. For example, if your pool’s surface area is 400 square feet, you would want a minimum of 300 square feet of solar panels to heat it efficiently.
Establishing a Suitable Framework for Solar Panels
Frameworks come in particularly handy when angling panels for maximum exposure to sunlight. They can also safeguard your panels. Ensure the structure is secure and sturdy enough to endure severe weather conditions.
Mounting Solar Panels Securely

Now, with your framework in place, fasten each solar panel securely. Use the appropriate mounting hardware delivered with your solar panel kit. Keep ensuring the panels are parallel to one another and retain optimal exposure to sunlight.
Undertaking the Pool Solar Panel Connections
Running Necessary Pipes
You have your panels securely in place. Great! Now those panels need a connection to your pool. The goal: pump water up to the panels, where it becomes heated, before returning the warmed water to your pool.
You can run your PVC pipes from the pool pump up to the solar panels. Use appropriate PVC fittings at the panel inlets and outlets. Remember to clean pipes with a pipe cleaner before applying PVC cement for enhanced adhesion. Then, ensure a tight fit.
Fitting the Vacuum Relief Valve
This valve prevents a vacuum forming after the pump is turned off or in case of power failure. This is usually placed between the solar panel outlet and where the water returns to the pool.
Installing a Check Valve and Isolation Valives
A check valve stops water from draining out of your panels when the pump is disabled. Install this valve on the return line.
Isolation valves are instrumental in rerouting the water flow if you need to undertake any system repair. Fitting isolation valves on each side of the system, both on the supply and the return sides, is optimal.
Completing the Installation
Finally, double-check all panels for secure mounting, and reinspect all pipes for any potential leaks. Once everything checks out correctly, run a small test to check how well the water is heating and make adjustments as necessary.
Automating the Solar Pool Heating System

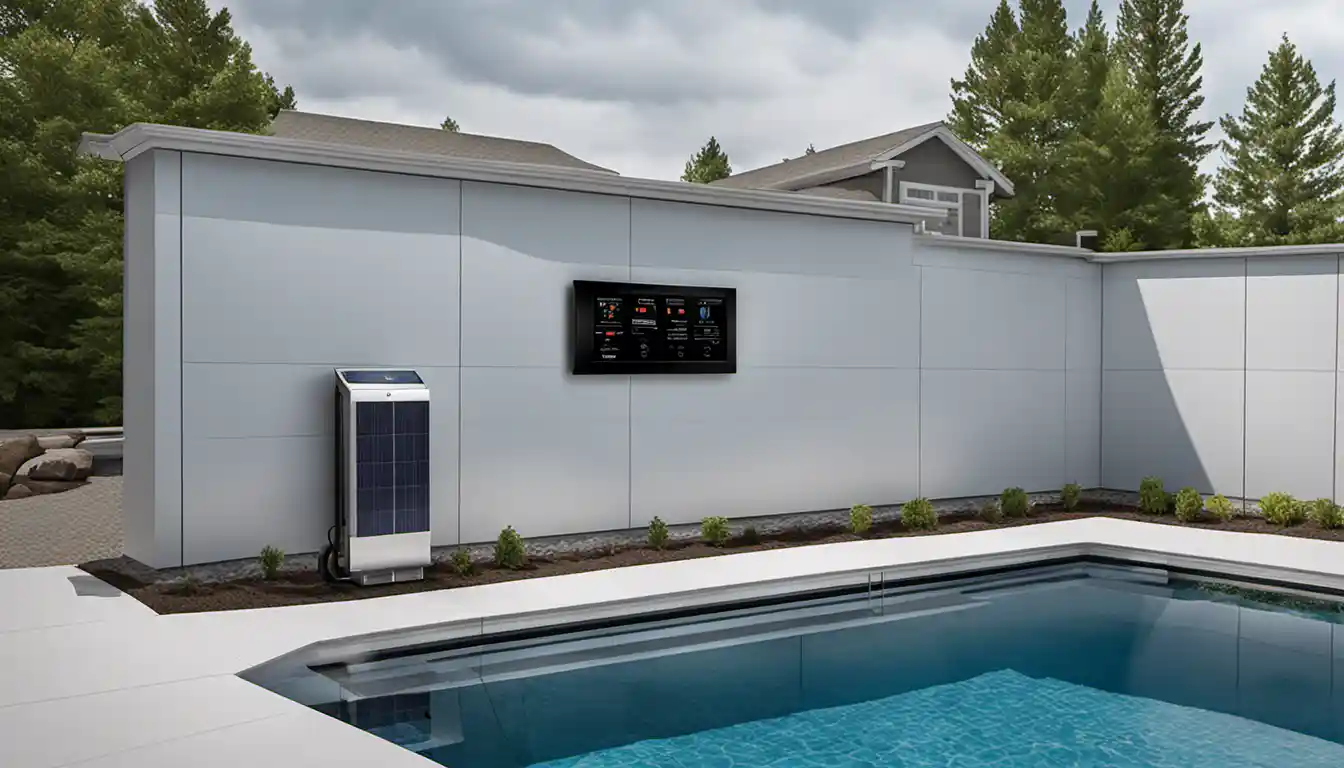
Automation takes the hassle out of manual operational activities. An automatic control system monitors your pool’s temperature and then diverts water to the solar panels when it needs warming. A solar panel for pool must-have, the automation system doubles up as a power saving feature.
Putting Solar Pool Heater to the Test
Now, fill your pool with water and run your new solar pool heating system full blast to test it out. You should see significant temperature changes in just a few hours.
Frequently Asked Questions About Solar Pool Heating
Ideal Location for Installing Pool Solar Panels
The best location is where you get the most sunlight afternoon; rooftops are viability options.
Lifespan of Pool Solar Panels
With good maintenance, your solar pool heating panels should last 15 to 20 years.
Cost of Installing Solar Pool Heating System
The cost of installing a solar pool heating system can range widely depending on your location, the size of your pool, and the specific heating system you choose. Generally, prices range from $3,000 to $4,000.
Conclusion: Enjoying Solar-Heated Pool
By now, you’ve mastered the ins and outs of how to install pool solar panels. Despite the visual complexity, if you break down the installation into the steps we’ve run through today and give yourself time, you can tackle it successfully. Now, sit back and enjoy your solar-heated pool!


