Introduction
To install a solar attic fan, first, you need to locate an optimal place on your roof where the fan can receive the most sunlight. Cut a round hole in that space and attach the flange of your solar attic fan there, following the product’s specific instructions and safety guidelines for installation. Ensure that the solar panel is appropriately angled towards the sun for maximum efficiency.
What is a Solar Attic Fan?
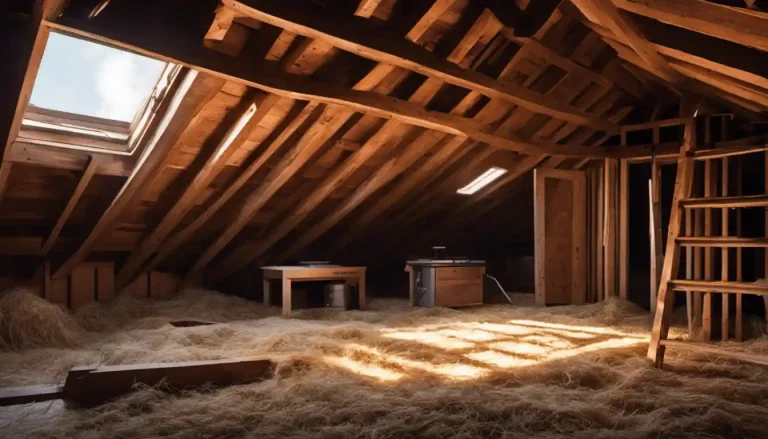
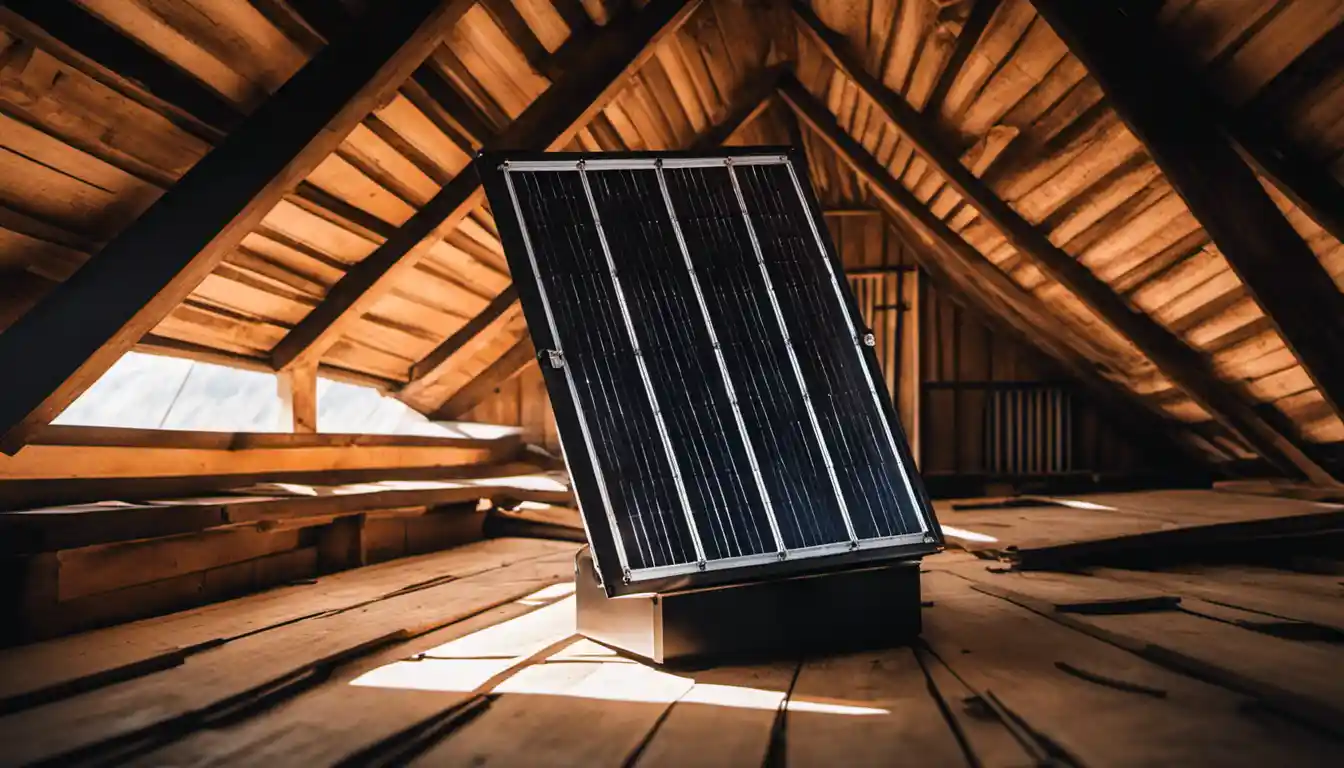
A solar attic fan is a device designed to help keep your home’s attic cool during the scorching summer months. This fan uses energy harnessed from the sun to power its operation, making it an eco-friendly addition to your home. Picture it this way: Your attic is like that sweltering, stuffy room on a humid day, and the solar attic fan is like a breath of fresh cool air!
Benefits of a Solar-Powered Attic Fan
The most significant advantage of installing a solar attic fan is, undoubtedly, the energy saving. As it operates using renewable solar energy, it limits dependency on traditional energy resources. It reduces electricity costs and helps maintain a cooler home, thus reducing the pressure on your air conditioning system. It’s like having a secret superhero in your attic, battling that power bill and keeping the heat at bay!
Understanding How Solar Attic Fans Work
Solar attic fans work by harnessing sunlight and converting it into electricity, thanks to a mini solar panel on the top of the device. So, on a sunny day, your fan whirrs into action, pulling hot air out of the attic and replacing it with cooler external air. It’s kind of like magic, don’t you think?
Before Installation
Before embarking on the journey to install a solar-powered attic fan, there are a few things that you need to tick off your list.
Tools and Materials Needed
A ladder, a pencil, a tape measure, a saber saw, a drilling machine, roofing sealant, and your solar attic fan are the principal ingredients in the installation recipe. Think of yourself as a chef, ready to whip up an energy-saving masterpiece!
Choosing The Right Solar Attic Fan For Your Home
Selecting the perfect fan is like choosing the best apple from the basket. Consider factors such as roof material, attic size, ventilation requirements, and the local climate to make your pick. A high-quality solar attic fan will be durable, efficient, and have a good warranty.
Assessing Your Attic for Installation

Your attic’s condition and layout will heavily influence how and where you will install your new fan. It’s vital to assess your attic first – any water leaks, damaged insulation, or unsafe wiring should be fixed before installation.
Calculating The Number of Fans Needed
Managing heat in larger homes often requires more than one solar attic fan. The general formula is to have one fan per 1200 square feet of attic area.
Understanding the Installation Process
Now that you have gathered the necessary information and materials, let’s understand the installation process. Don’t worry, I’ll walk you through this!
Installation Process
Step 1: Locating the Placement Area
Locate the highest point of your roof where your fan will sit, ideally on a South-facing slope. This location, as opposed to a shady area, will receive maximum sunlight throughout the day.
Step 2: Marking the Fan’s Position
Use a tape measure to find the center point of your chosen area, marking a circle to dictate your fan’s position. Remember – your markings on the roof are like a map guiding you towards successful installation.
Step 3: Cutting the Hole for the Fan
Use your saber saw to carefully cut through your markings, creating a hole for your solar attic fan. The process can be akin to carving out a pumpkin – careful, precise, but with a rewarding outcome!
Installing the Fan
Step 4: Placing the Solar Attic Fan in The Cut Space
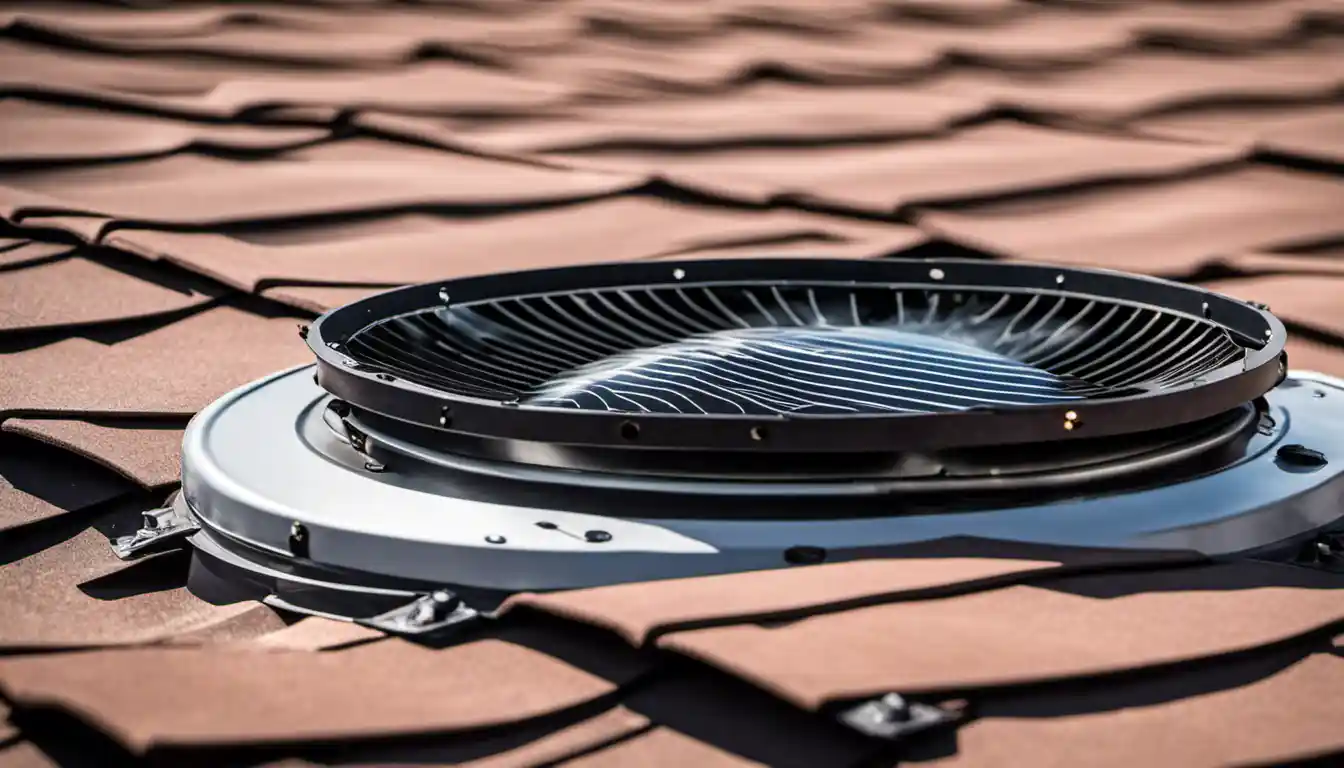
Fit your fan’s flange into the cut-out hole, ensuring that the solar panel faces up towards the sky, ready to soak up the sun’s energy. It’s like placing the perfect cherry on top of a sundae.
Step 5: Securing the Fan to The Roof
Using a drilling machine, firmly secure the solar attic fan to the roof by drilling it into place. Apply a generous layer of roofing sealant around the edges to provide leak-proof protection. Your fan should now be snugly installed, ready to face whatever Mother Nature throws at it.
Step 6: Applying Sealant for Protection
An extra layer of sealant never hurt anyone! It’s like adding extra sunscreen on a sunny day. This step helps ensure your installation is weather-proof and long-lasting.
Connecting the Solar Panel
Step 7: Positioning the Solar Panel
Identify the area that receives maximum sunlight to position your solar panel, preferably a Southern exposure.
Step 8: Securing the Solar Panel
Using a drill, securely install the solar panel and angle it towards the sun for maximum efficiency. Your solar panel, like a sunflower, may need to reposition throughout the day for optimal performance.
Step 9: Connecting the Solar Panel to the Fan
This step is a little trickier, think of it like combining puzzle pieces. Carefully follow your product instructions to safely connect the wires from the solar panel to the fan.
Final Steps
Step 10: Checking the Fan’s Functionality
With a sigh of accomplishment, step back and watch as your solar attic fan spins into action. Your fan should operate automatically midst sufficient sunlight, channeling hot air out of the attic.
Step 11: Safety Precautions After Installation
Take time to bask in your successful installation. Remember that safety is crucial; don’t touch the wiring without safety gloves and always ensure the equipment is dry before touching it.
Troubleshooting Common Issues
Running into a problem? No worries! Many common issues, such as the fan not working or making unusual noises, can be solved by basic troubleshooting.
Maintenance of the Solar Attic Fan
Like your car needs regular servicing, your solar attic fan needs maintenance for its smooth functioning.
Regular Maintenance Tips
- Check the fan blades regularly for dust or debris
- Ensure that the solar panel is clean and functioning correctly
- Regularly inspect the fan and the roof area around it for potential leaks
Potential Problems and Their Solutions
Common issues related to solar attic fans usually involve the fan’s moving parts or the solar panel. It could be anything from build-up on the solar panels reducing efficiency or the fan motor seizing up.
Maximizing the Efficiency of Your Fan
Just as you would exploit a sunny day for a picnic, maximize the efficiency of your fan by proper positioning and regular maintenance. Consider coupling your solar attic fan with adequate solar roof vents to achieve optimal attic ventilation and energy savings.
Conclusion
Installation of a solar attic fan is like a friendly game of DIY, fun, and enriching. It’s a blend of a little bit of know-how, a touch of caution, and a large spoonful of eagerness to make a difference. With my guide on how to install solar attic fan, you are set to embark on the journey towards energy efficiency and cost-saving. So, grab that drill, slap on that safety gear, and let’s banish that sweltering heat from your attic for good!
