Introduction
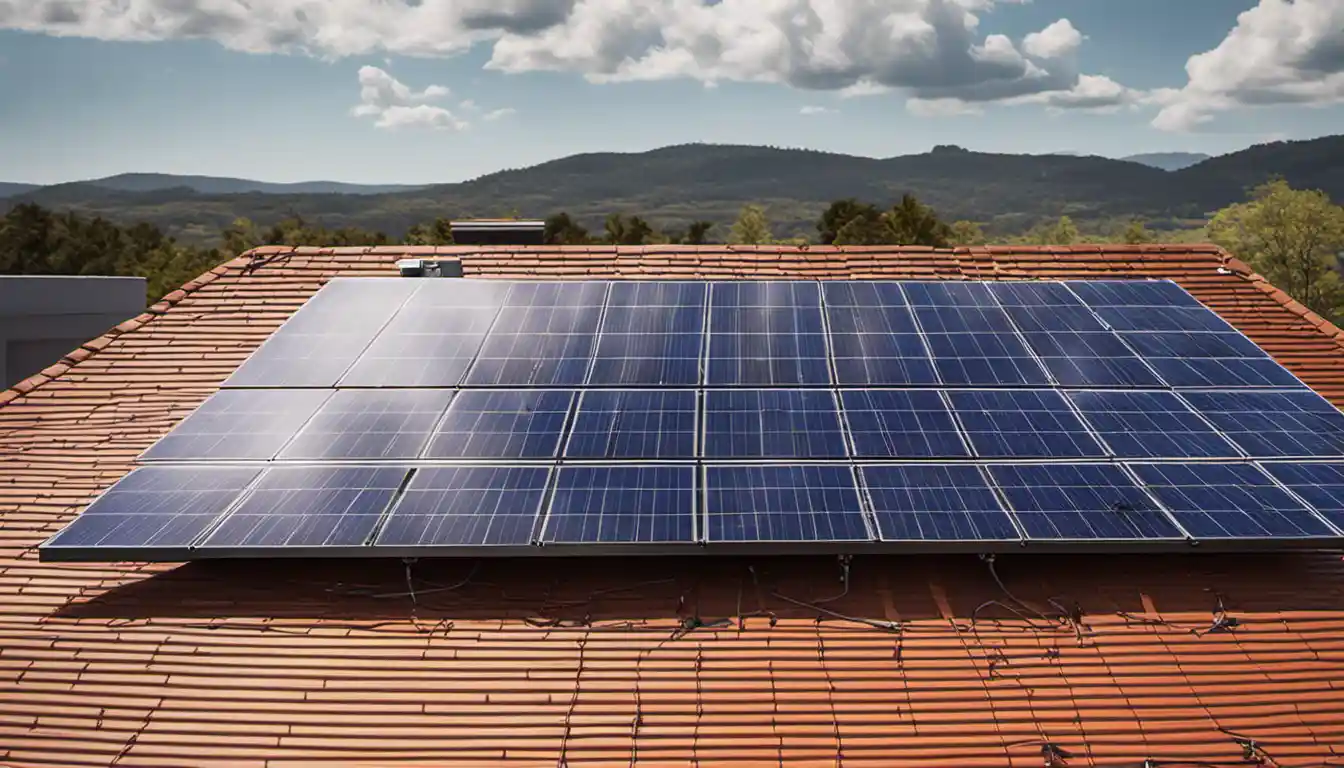
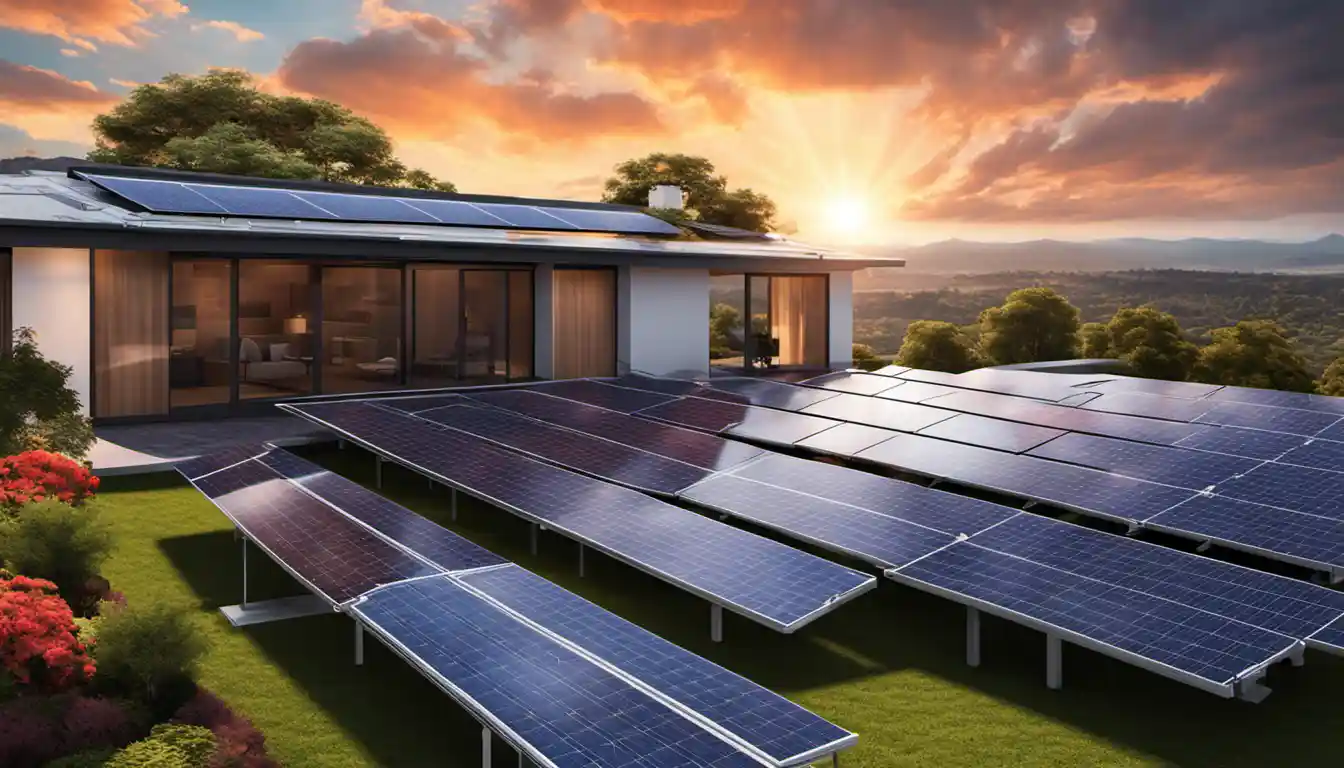
To install a solar inverter, you first need to mount it onto a wall with sufficient ventilation. Then, connect the solar array input wiring to the inverter and connect the output wiring to your home’s electrical system. Make sure to adhere to all safety instructions and possibly hire a professional if you are not experienced with electrical installations.
Understanding Solar Inverter
What is a Solar Inverter?
A solar inverter, in simple terms, is a device that converts Direct Current (DC) generated by your solar panels into Alternating Current (AC), which powers your home appliances. It’s the heart of a solar energy system, and understanding it is the first step on your journey of learning how to install a solar inverter at home.
Role of Solar Inverter in a Solar Energy System
You can think of a solar inverter as an energy conductor. Its ultimate role is to convert and control the flow of power from the solar panels ensuring your home gets the requisite power supply. It’s like a high-tech traffic cop standing between your solar panels and your appliances, directing energy traffic efficiently.
Choosing the Right Solar Inverter
Different types of solar inverters exist and each one is suited for specific energy needs, installation sizes, and budget constraints.
String Inverters
These are the most common and budget-friendly kinds. In a string inverter system, all solar panels are connected in a string and fed into one inverter.
Microinverters
Microinverters sit under each solar panel and work independently from each other. They’re a bit pricier than their string counterparts but come with the advantage of better performance in case a panel underperforms or is shaded.
Required Equipment and System Size for Solar Inverter Installation
One of the key steps in knowing how to install a solar inverter is understanding the system size you’ll need and identifying the equipment you require.
Understanding System Types
Grid-tie
This is the most common system used in urban areas. It connects your solar system to the power grid that services your area.
Stand-alone

Also known as off-grid systems, these are best used in remote areas where there is no accessible power grid.
Hybrid
A hybrid system, meanwhile, can be connected to the grid but also has functionality to store energy in batteries for later use.
Size of System
Choosing the right size for your solar system is crucial. It should adequately meet your energy consumption needs without causing unnecessary costs.
Installation Supporting Equipment
Beyond the solar inverter, you’ll need other items like solar panels, mounting hardware, cabling, and possible battery storage systems, among others.
Pre-Installation Considerations
Cost Calculation
Count your costs before you dig the first hole. You’ll typically be looking at upfront costs for the equipment, permits, and possible professional installation.
Finding the Right Location and Position for Installation
Your solar panels need maximum exposure to sunlight. Typically, a south-facing roof gets the most sun.
Safety Measures
Ensuring safety is paramount when dealing with electrical installations. Turning off the mains, using insulated tools, and wearing safety gear are just a few of the precautions to take.
Step by Step Installation Process
Now the part you’ve been waiting for – breaking down the process of how to install a solar inverter at home.
Step-1: Mount Installation
Find a wall with good ventilation, away from direct sunlight or rain to mount your inverter.
Step-2: Solar Panel Installation
Install your solar panels in the position that gets them the most sunlight exposure during the day. Facing them towards the equator is usually a good idea.
Step-3: Electrical Wiring & Diagram

Plan your wiring route from the solar panels to the inverter and from the inverter to the mains supply. It’s good to have a diagram to guide you.
Step-4: Connection to Solar Inverter
Connect the DC output from the solar panels to the DC input in your solar inverter.
Step-5: Connect Solar Inverter and Battery
If you’re using an off-grid or hybrid system, you’ll now need to connect the output from the solar inverter to the battery storage system.
Step-6: Grid Connection
If you’re setting up a grid-tied or hybrid system, your installation will require a connection to the utility grid. Be sure to follow local power company regulations for this step.
Step-7: Solar Inverter Startup
Before turning on your inverter, ensure all cables and connections are properly installed. Then, slowly switch on your DC isolator and wait for the inverter to start-up.
Maintenance of Solar Inverter
Proper maintenance extends the lifespan of your solar inverter and ensures optimum performance.
Performing Correct Wiring
Incorrect wiring can cause harm to your solar unit and pose safety risks. It’s good to periodically check to make sure all connections are secure and correctly installed.
Regular Check of Installation Environment
Keep an eye on the environment around your panels and inverter. Overgrown vegetation, dust, or dirt can influence the performance of your system.
Precaution to Avoid Flammable Substances
Keeping your inverter away from heat or flammable substances prolongs its lifespan and wards off potential electrical fires.
Battery Maintenance
If you’ve incorporated batteries into your system, refer to the manufacturer’s manual for proper maintenance guidelines.
Ways to Avoid Input Over-Voltage and Direct Outputs

Always ensure that the combined voltage from your solar panels does not exceed your inverter’s maximum input voltage.
Guidelines for Part Replacement
Always refer to your manufacturer’s guidelines when replacing components of your system.
Professional Help
When to Call an Electrician
Even if you’re an avid DIY enthusiast, some steps of the installation might require the services of a professional electrician. When in doubt, call for help!
Having Technical Support Ready
Most solar inverter manufacturers provide technical support. Keep their details handy in case you need advice, additional guidelines or assistance during installation.
Frequently Asked Questions (FAQs)
What is the First Step in Installing Solar Panels?
Planning is the first step. It involves determining your energy needs, deciding which type of solar system is best for you, and figuring out the size of the system you need. Find more details here.
Do I Need a Professional to Install Solar Panels?
While it’s possible for a DIY enthusiast to install their own solar system, hiring a professional can often save time, ensure a safer installation, and possibly even save you money in the long run.
What Permits or Approvals are Required for Solar Panel Installation?
Permits vary by location so check with your local municipality or permitting office to understand what you need.
Can I Install Solar Panels on a Flat Roof?
Yes, it is most certainly possible to install solar panels on a flat roof. However, the panels will require an elevated mounting system so they can be angled towards the sun.
How Long Does it Take to Install Solar Panels?
Typically, the physical installation of the solar panel system can be finished within 3-5 days. However, this can vary depending on the size and complexity of the system.
With this guide on how to install a solar inverter at home, you now have the basics at your fingertips. You can do it! Best of luck on your solar installation journey. The sun, after all, is the most democratic energy source we have; it shines for everyone!


