Introduction to Solar Water Heater Installation
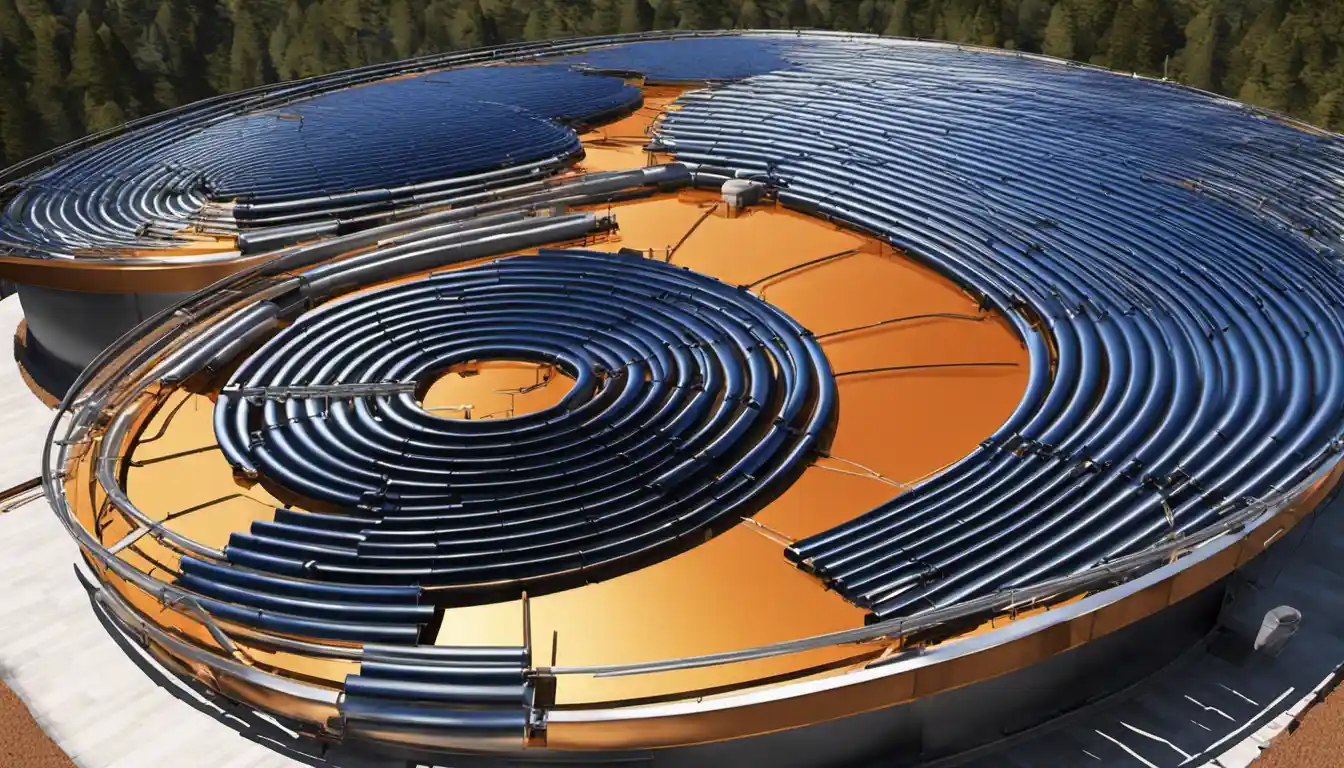
To install a solar water heater, first select an appropriate location with maximum sunlight exposure to install the solar panels, either on your rooftop or ground. After this, connect the system to your water tank. Since this involves plumbing and electrical work, it’s highly recommended to hire professional services to ensure the installation process is conducted properly and safely.
Understanding the Need and Benefits of a Solar Water Heater
Solar water heaters, once regarded as a luxury, have now become a necessity. This shift is largely as a result of the rising energy costs and an increased focus on sustainability. A solar water heater taps into the enormous energy of the sun, providing hot water to your home even in the chilliest of winters, without leaving a carbon footprint! Importantly, installing a solar water heater also reduces your electricity bill significantly over time.
Survey of Solar Water Heating Costs
Although the initial installation cost can seem steep – ranging between $2,000 to $5,000 per residential unit – the subsequent savings over several years make a solar water heater a cost-effective investment. The exact cost varies based on factors like the type of the system installed, the complexity of the installation process, and the geographic location.
Assessing your Solar Potential and Site
One of the preliminary steps in learning how to install solar water heater on a roof is understanding your site’s solar potential. A site assessment helps you determine if your roof gets enough sunlight during the day and whether it can bear the weight of the solar panels. A south-facing roof, with little to no shade, tends to be the most beneficial.
Overview of a Solar Hot Water System
Understanding how a solar hot water system works can be quite enlightening (pun intended!). When sunlight hits the solar collectors installed on your roof, it heats up the liquid or air inside. This hot liquid or air is then transferred to your water tank via pipes, thereby heating up the water.
Understanding the Working of a Solar Hot Water System
A solar water heater operates on a relatively simple principle: convert sunlight into heat and then transfer this heat to your water tank. The two main types of systems are active (which have pumps and controls) and passive (which don’t).
The Closed-Loop Solar Heating System Concept

One common type of active system is a closed-loop system. It uses a heat-transfer fluid (an antifreeze solution) that circulates through the collectors and a heat exchanger, thereby heating the water. The heated water is then stored in a tank, ready for use.
Materials and Tools Required for Solar Water Heater Installation
Now that you’re acquainted with the basics, it’s time to get into the details of how to install solar water heater. Note that some level of experience in plumbing and electrical works is required to complete the installation.
List of Necessary Tools
The primary tools needed for your solar water heater installation include a drill, adjustable wrenches, pipe cutters, soldering kit, and safety gear.
List and Description of Required Materials
The main materials you’d need to procure include a solar collector, a storage tank, a controller, a circulating pump, expansion tank, various pipes, and fittings. You’ll also need mounting hardware for the solar collectors.
Installing a Solar Hot Water Heater
With the tools and materials ready, let’s dive into the actual installation process. Safety first, though: make sure to switch off the water supply and power before you start.
Step 1: Mounting the Solar Collectors
Location is key! Find a sunny, shade-free spot on your roof, where the sun’s path is also uninhibited. Position your solar collectors facing the sun and attach them to the roof with mounting hardware.
Step 2: Installing the Storage Tanks and Heat Exchanger

Once the collectors are securely installed, move on to the storage tank, which you should install indoors, in a utility area. Connect the tank to the solar collector using insulated piping.
Step 3: Installing Antifreeze Fluid Piping Systems
For the closed-loop system, circulate non-toxic antifreeze solution through the solar collector and heat exchanger. Check valve and air eliminators ensure that no air gets trapped and the heat transfer fluid doesn’t flow backward.
Step 4: Installing Water Transport Pipes
Connect the heat exchanger to your cold water supply on one end and your hot water output on the other end. All the connections must be leak-proof to avoid any loss of heat or water.
Step 5: Installing Control Systems
Now, it’s time to connect the pumps and controllers, which dictate when to circulate the heat transfer fluid.
Step 6: Insulating the System
Insulation plays a crucial role in retaining the heat transferred from the solar collector to the water. So, insulate the pipes with suitable materials to minimize heat loss.
After Installation: Estimating the Paybacks
After understanding how to install solar water heater on roof and having put the work in, you can now sit back and enjoy the paybacks.
Understanding the Payback

Payback in a solar water heater is the period it takes to recoup your initial investment through energy savings. While this differs for everyone, most homeowners see a payback between 6 to 10 years.
Tips for Maximizing Paybacks
Using more solar-heated water and mindful usage can help maximally extract the benefits and see faster returns.
Troubleshooting and Maintenance Tips
Maintenance of your solar water heater is crucial for its efficient functioning. Regular checks for leaks, pressure, and other parameters assure longevity.
Addressing Common Issues
Most common issues in solar water heaters include insufficient heating, leaks, or blockages. Understanding the common reasons behind these issues can help you troubleshoot them. Remember, the more you’re familiar with your system, the easier it becomes to rectify minor issues.
Maintaining Optimal Functioning of Solar Water Heater
Seasonal maintenance of your solar water heater is crucial. A planned course of action encompassing visual inspections, cleaning the collector, checking the system pressure, and maintaining the heat transfer fluid can go a long way in ensuring optimal functioning.
Conclusion: The Impact of Solar Water Heating Systems
In conclusion, knowing how to install solar water heater on roof isn’t just beneficial for cutting costs but it’s also a step towards sustainable living. If you’re looking for more DIY projects that harness solar power, this guide on how to make a homemade solar water heater is a must-read!
Remember, although DIY installation might seem attractive, professionals are equipped with the right knowledge and tools to get the job done safely and effectively. Do always consider your skill level and the risks involved before embarking on this project!


