Introduction
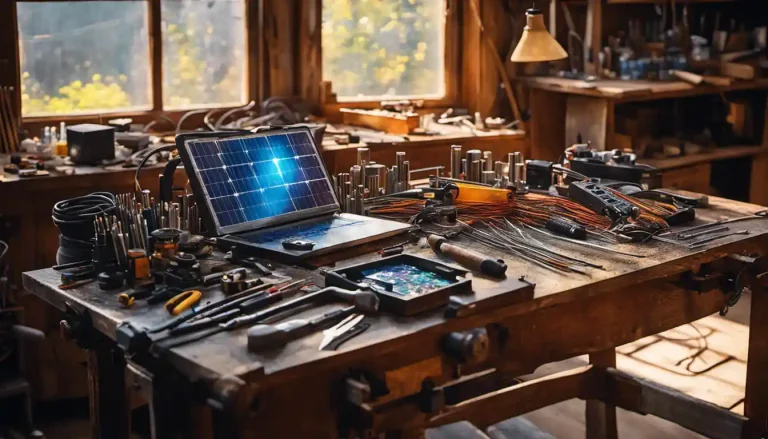
To create a homemade solar panel, you will need materials such as solar cells, tabbing wire, a soldering kit, and a clear plexiglass. The process involves wiring the solar cells together, gluing them onto a backing board, connecting it to a charge controller, and then encapsulating the whole set-up to protect it from the environment. Note that while making DIY solar panels can be a fun project, commercially made solar panels tend to be much more efficient and durable.
What You Need to Know About Solar Panels
Solar panels are devices that convert sunlight into electricity. They work on the principle of photovoltaic effect, converting photons (light particles) into electrons (electricity). When sunlight hits a solar cell, it excites the electrons in the cell and makes them move, creating an electric current. This is how the magic happens, which is quite fascinating when you come to think of it!
Making a Solar Panel: The Basics
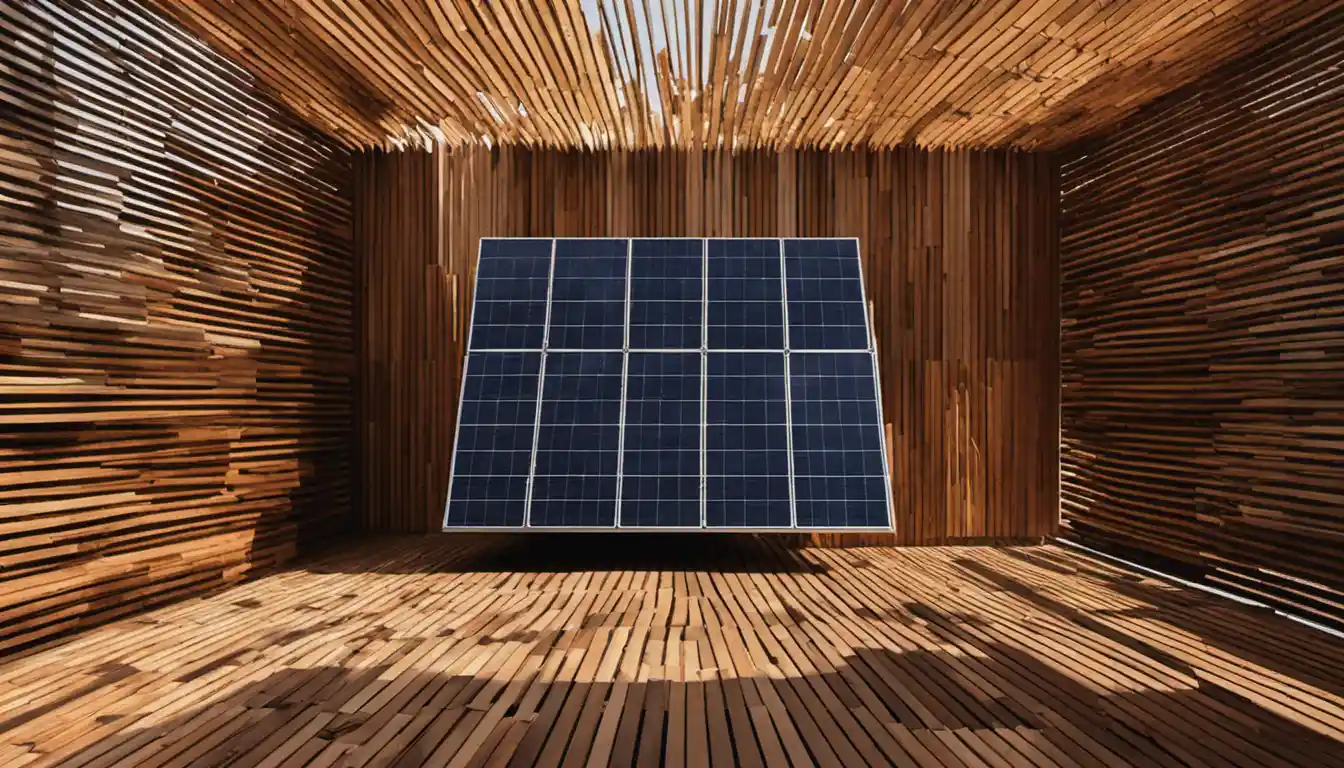
A commercial solar panel is more than just a group of solar cells. It includes an anti-reflective coating to capture as much sunlight as possible, a protective glass cover, an insulating layer, and a sturdy frame to hold everything in place. But on a basic level, the key component of a solar panel are the individual solar cells.
Understanding How Solar Panels Work
In the simplest terms, solar panels work like this: sunlight strikes the solar cells, inducing a flow of electrons, which in turn generate electric current. This electric energy can then be used to power your household appliances and lighting. If you want to dig deeper into the mechanics, you might be interested in knowing what happens at a microscopic level. You might also want to check our comprehensive guide on solar panel manufacturing.
Gathering Your Materials
The first step on your DIY solar panel journey is gathering the right materials. As mentioned, building a solar panel isn’t too complex, but it requires some specific materials.
Identifying Household Items for Your Solar Panel
A good number of these materials you might already have in your house, such as a soldering iron, a sheet of glass, or a wooden board. Other materials like bus wire and solar cells, however, you might need to purchase. Researching on ways of how to make a homemade solar panel, you may stumble upon ways on how to make a solar panel with household items – and yes, it’s indeed possible! But it won’t be as efficient or durable as one made with a bit of investment on appropriate materials.
Creating a Solar Panel Template & Assembly
Once you have your materials ready, your next step is planning out how your solar panel will piece together, and then assembling it step by step.
Crafting the Template and Frame
To do this, create a square or rectangular template on your wooden board, depending on how many solar cells you have and how you want to arrange them. You can then go ahead and build wooden walls along this template, and this will serve as the frame for your homemade solar panel.
Assembling Your Solar Cells
Now the real fun begins – laying out your solar cells. Be sure to handle them carefully; they are often quite fragile! Lay them out on your template in series – meaning the positive terminal of one cell is connected to the negative terminal of the next – such that all cells are connected in a long chain. As this stage can be a bit tricky, you may find videos on how to make a solar panel easy particularly helpful.
The Building Process
By now, you should have your solar cells all spread out and ready to be wired together. This is where your soldering skills will come into play!
Creating Connection Holes for Your Solar Panel
Your first task will be to create small holes in your backing board, just above each point where the cells connect. These holes will allow you to push your bus wire from the front of the panel to the back, neatly hiding it from view.
Gluing the Solar Cells Down
Once your holes are drilled, use a non-conductive adhesive to stick your cells down onto the backing board. Be sure to allow ample time for the adhesive to dry before proceeding.
Soldering Bus Wire Explained
Next, you can start to solder the bus wire onto the points where the cells connect. Be sure to use enough solder to make a solid connection, but not so much that it prevents the wire from threading through the connection holes you drilled earlier.
Adding Pressure on the Plexiglass
After your solar cells have been soldered together, you can now place a sheet of transparent plexiglass over them. The plexiglass will protect your cells but also allow sunlight to reach them.
Installing the Junction Box
The most challenging part of building the panel is probably installing the junction box, which collects the power from all the cells and sends it to the inverter. To do this, you’ll need to drill another hole in your backing board, run a wire from the last cell in the chain to the junction box, and then use a waterproof sealant to secure it in place.
Understanding Solar Panel Inverters

The inverter is a crucial device often overlooked when researching on how to make your own solar panels cheap. It takes the DC power produced by your solar cells and converts it into AC power, which is what most household appliances use.
Making Sure Your Solar Panel Works
So, you’ve finished building your homemade solar panel. Congratulations! But before you go installing it on your roof or in your backyard, it’s important to make sure it’s producing power as it should.
How to Check Your Solar Panel’s Productivity
To check this, you can simply use a multimeter. If the panel is producing voltage, it’s working! If not, there may be a loose wire or something may have gone wrong during the assembly. But not to worry, most issues are fixable with a bit of detective work.
Tips for a Successful Project
Building your own solar panel can be a rewarding project, whether you’re doing it to save money, to learn something new, or for the pure satisfaction of creating something useful with your own two hands.
Avoiding Common Mistakes
However, it’s not without its potential pitfalls. It’s easy to break solar cells if you’re not careful, and soldering them together can be a little tricky if you’re not used to it. But don’t be discouraged; with a bit of practice, you can certainly master the art of making homemade solar panels.
When to Reach Out to Professionals
If you find that the task is too challenging or if the panel doesn’t work after several attempts to fix it, don’t hesitate to reach out to a professional. Solar energy is a rapidly evolving industry, and there are many professionals out there who would be happy to help you get your DIY solar panel up and running.
Looking at the Numbers
Understanding How Much DIY Solar Panels Cost

The cost of building a homemade solar panel can vary greatly depending on the materials you use. However, it’s definitely possible to build a panel for under $200. You might find it helpful to compare this to the cost of a commercially produced panel, which can run anywhere from a few hundred to a few thousand dollars, depending on the size and efficiency.
Why it’s Cheaper to Build Your Own Solar Panels
Clearly, building your own solar panel can save you money, but the trade-off is that you will be investing your own time and effort. If you enjoy DIY projects and are excited to learn about solar energy, this could be a great project for you.
Maintaining Your Solar Panel: The Long Haul
Building your solar panel is just the first step; for it to last and produce electricity for years to come, it needs to be well maintained.
The Maintenance of DIY Solar Panel Systems
Luckily, once set up, solar panels require minimal maintenance. They just need to be kept relatively clean and free of shade. Depending on your local climate and the tilt of your panel, precipitation may do the cleaning for you. If not, a quick wash with a garden hose every few months should do the trick.
Final Thoughts
Considering the Pros and Cons of DIY Solar Panels
Before embarking on the DIY solar panel journey, it’s important to weigh the pros and cons. On the positive side, building a solar panel can save money, expand your DIY skills, and lessen your environmental impact. On the negative, the panel might not be as efficient or durable as a commercially made one, and the process might be time-consuming.
Are DIY Solar Panels Worth It?
So, are DIY solar panels worth it? The answer depends on your motivations. If you want to learn about solar technology, don’t mind the labor, and are excited about the process, then yes! On the contrary, if your sole purpose is to save money, buying a commercial solar panel might be a better choice.
Concluding Remarks
As with any DIY project, the goal is not only to save money, but also to learn, create something with your own hands, and have fun! So, if the idea of engineering a solar panel from scratch excites you, it’s time to get your hands dirty and dive into this fascinating project of how to make a homemade solar panel.
