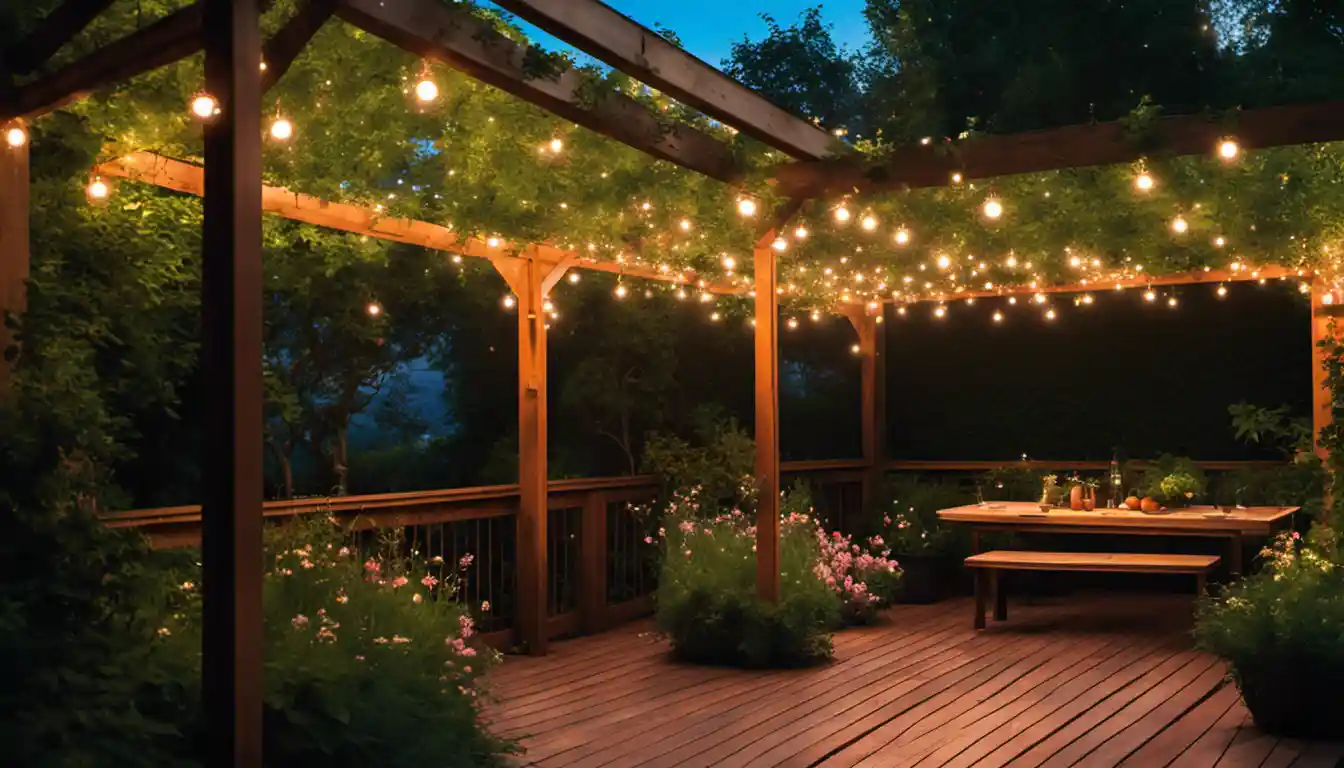
Introduction to Solar Lights
To make solar lights, you’ll need a few components like solar panel, rechargeable batteries, LEDs, and a controller circuit. The solar panel absorbs sunlight to convert it into electrical energy, which is then stored in the batteries; at night, this stored energy powers the LED lights. The controller circuit manages the process by regulating the energy flow, turning the light on when it’s dark, and charging the battery when there’s sunlight.
Understanding Solar Lights
Solar lights, in essence, are miniature, standalone solar power systems. If you’ve ever wondered how to make solar lights, then it’s essential for you to first understand how they work. Just as larger solar setups power homes and businesses, solar lights harness the power of the sun, absorbing solar energy throughout the day and converting it into light once the sun goes down.
Benefits of Solar Lights
From environmental benefits like reducing energy consumption and greenhouse gas emissions, to economical advantages such as cutting costs on electricity bills, solar lights provide an array of meteoric wins – both for you and our planet. Not to mention, they’re incredibly simple to install and typically require very low maintenance. Not bad, eh?
How Solar Lights Work
Before we dive into the nitty-gritty of manufacturing your own solar lights, it’s worthwhile shedding a little light (no pun intended) on the workings of this eco-friendly illuminator.
Overview of the Solar Light Mechanism
Solar lights operate on a simple yet genius concept of energy conversion. During the day, a photovoltaic (or solar) cell absorbs sunlight and generates electricity. This electricity is then stored in a rechargeable battery for use at night. And voila, that’s how you light up the night with a day’s worth of sunshine!
Main Components of Solar Lights
Understanding how to make solar powered LED lights requires familiarity with their components. Here’s a quick breakdown:
- Solar Cell or Panel: This part absorbs sunlight, initiating the process of converting solar energy into electricity.
- Rechargeable Battery: This stores the generating electrical energy during the day.
- LEDs (Light Emitting Diodes): These function as the light source. When powered by the battery, they emit light.
- Controller Circuit: Think of this as the maestro of the orchestra. It directs when to charge the battery (during daylight) and when to power up the LED light (after dark), ensuring an efficient operation.
Preparing the Tools and Materials You Need
Like any DIY project, making solar lights begins with gathering all the tools you’ll need.
List of Required Tools

- Soldering iron
- Wire strippers
- Hot glue gun (optional)
- Multi-meter (for testing)
Necessary Material Components
- Solar panel or solar cell (6V)
- Rechargeable battery (AA Ni-MH)
- Battery holder
- LEDs
- Diodes
- Resistors (optional depending on your design)
- Wires
- Plastic housing or any other material to serve as the body of the light
With all these prepared, you’re one step closer to knowing how to make solar lights. Now let’s roll up our sleeves and get into the actual making process!
How to Make Solar-Powered LED Lights
Now that we have all the tools and materials in place, it’s time to assemble our solar-powered LED lights. Here’s a step-by-step guide to making a simple, basic solar light.
Preparing the Solar LED Light Components
-
Start with the solar panel. This will typically come with certain specifications, such as voltage and wattage. A 6V solar panel is ideal for charging a 1.2V Ni-MH battery. The panel should also have a suitable power rating – a 2W solar panel, for instance, can safely charge a 1200mAh battery.
-
Next, choose a suitable rechargeable battery. A Ni-MH (Nickel-metal hydride) battery works best because it can tolerate overcharging to some extent, which is necessary when powered all day by a solar panel.
-
Now, it’s time to pay attention to LED lights. These amazing little lamps use less energy, last much longer, and are safer to handle than traditional incandescent bulbs. That makes them perfect for our solar light project. A typical LED operates at around 2V to 3.5V, depending on its color and size. A regular bright white LED is usually rated around 2.8V to 3.2V.
Assembling the Solar LED Light
-
Solder the positive (longer) lead of the LED to the positive lead of the solar panel, and the negative (shorter) LED lead to the negative solar panel lead. If you prefer, you can connect multiple LEDs, just remember to increase the solar panel’s specs.
-
Insert the rechargeable battery into the battery holder, then connect its positive and negative leads to the corresponding ones on the solar panel.
-
Check over your connections, ensure all soldering is clean, and your light is ready for a test run.
Testing and Troubleshooting
Take your solar light and place it under the sun, allowing it to charge for a few hours. Once the sun sets, your light should come on. Use a multimeter to verify the voltage and correct any potential issues. Through this article, I hope I’ve made it clearer how to make solar powered LED lights. However, if you’re still confused, the guide on solar panel lights provides you with an even more thorough explanation and may help clear up any confusion.
DIY Solar Light Projects for Inspiration
Looking for a little creative inspiration for your DIY solar lighting project? Here are some easy-to-make solar light designs that you can try out at home:
DIY Solar Shed Lights
Your garden shed is an ideal place to use a solar light. Powering shed lights off the grid saves electricity and installation costs.
DIY Solar Powered String Lights

Perfect for festivals, garden parties or simply to create a cosy garden atmosphere. These lights are fun to make and wonderful to display.
DIY Solar Mason Jar Lights
These crafty and creative lighting ideas turn regular mason jars into magical solar lanterns that look great on any patio or garden.
Solar lights offer immense possibilities for creativity. You can use different containers for the lights, hang them in different ways, or even color the light for a unique glow. By learning how to make solar lights, you’re not only cutting costs but also creating something unique and eco-friendly.
Special Solar Light Circuit Designs
If you’re looking for something a bit more advanced or customized, I’ve compiled a few special solar light circuit designs that you might want to try.
These circuit designs are for those who have a bit more experience with electronics and want a challenge. They can also be ideal frameworks for school projects or educational activities. So roll up your sleeves, dust off your workbench and let’s dive in!
Solar Garden Light Circuit w/ Automatic Cut Off
This circuit incorporates a light sensor that automatically turns off the solar light at dawn. Once the light level is sufficient, it cuts off the connection to the battery, saving power.
DIY Solar Light Circuit – Street Light
This DIY solar street light provides powerful illumination. It uses an array of LEDs for brighter light output and a simple mechanism powered by a 3.7V Li-ion battery.
DIY Solar Light Circuit using 6V Solar panel
This design utilizes a 6V solar panel and a converter to charge a lithium battery during the day. It then powers a high-brightness white LED when the ambient light decreases below a specific point.
DIY Solar Light Circuit using Lithium Battery
The use of a lithium battery in this circuit increases its efficiency and allows for faster charging times. This circuit can be used as a portable light source.
Motion Activated DIY Solar Light Circuit
For an extra touch of tech, you can upgrade your solar light to become motion activated. This DIY circuit includes a motion sensor that causes the light to turn on for a preset time whenever movement is detected.
DIY Solar Light Circuit for String Lights

This solar light circuit is perfect for lighting up your backyard garden with a string of LED lights. It’s a simple circuit that’s easy to put together and offers a soft, ambient light.
DIY Solar Light Circuit using Joule Thief Model
This design uses a Joule Thief model which allows you to use solar power to ‘steal’ every last bit of energy from a seemingly dead battery. This means even on cloudy days or during the shorter winter months, you can keep your lights burning bright.
Troubleshooting and Tips for Your Solar Lights
Solar lights generally require minimal maintenance. However, like any electronic device, they may sometimes face issues. But don’t fret, I’m here to guide you through these as well!
Common Issues and How to Fix Them
1. Solar Lights Are Not Turning On: The first thing to check is the switch. Is it turned on? It may sound silly, but sometimes we can overlook the simple solutions. If it’s on but the light isn’t working, check for any debris or dirt covering the solar panel. This could interfere with the charging process. Make sure to clean your solar panels regularly.
2. The Light Pattern is Irregular or Dim: This often points to a battery issue. Check if the batteries are correctly installed. If they are, then consider replacing them as they may have reached the end of their lifespan. Remember, rechargeable batteries typically have a life of 1-2 years.
3. Solar Light Turns Off and On Rapidly: This generally indicates a poor connection. Check if all the connections are securely made and clean the battery terminals to ensure a good connection.
Conservation and Maintenance of Solar Lights
Higher-end solar lights can handle year-round weather pretty well, but it’s still a good idea to take extra care during extreme conditions. In heavy rain or snow, bringing your solar lights indoors can extend their life. Also, positioning your solar lights to receive maximum sunlight can significantly increase their lifespan and effectiveness.
The Role of Solar Lights in Sustainable Living
Learning how to make solar lights is just one step toward sustainable living. Every decision we make, every product we buy, has an impact on the world around us.
Environmental Impact of Solar Lights
Switching to solar lights reduces your carbon footprint by decreasing the demand for fossil fuels and lowering greenhouse gas emissions. That way, we use what Mother Nature provides to light up our homes and gardens, all while conserving our planet’s precious resources.
Long-Term Cost-Efficiency of Solar Lights
Although there might be some initial cost to set up your solar lights, in the longer run, they are much cheaper since they use the sun’s power. There is no recurring cost for electricity, and maintenance costs are low. Solar lights are also exceptionally durable, so they also save on replacement costs.
Creating your solar lights not only allows you to light up your house uniquely but also nurtures curiosity, creativity, and independence. From the moment a solar light catches the first sunbeam in the morning, to its gentle glow in the dark, it’s more than just an eco-friendly lighting option. It’s a testament to your ingenuity and commitment towards a sustainable, brighter future.
So, there we have it – a comprehensive guide on making solar lights at home. Whether you’re already an experienced DIY guru or just getting started, I hope this guide has empowered you to sunny up your home and garden with the magic of solar energy.


