
Introduction to Solar Charge Controller Installation
A solar charge controller is typically installed in a solar power system and is connected between the solar panels and the battery storage. The process involves connecting the panels’ wires to the controller’s solar panel inputs and connecting the battery to the controller’s battery terminals. You should ensure that installation follows the manual’s specific instructions as incorrect installation can lead to damage or inefficient functioning.
Importance of Solar Charge Controllers
In your journey toward harnessing solar energy, knowing how to install a solar charge controller is a must. Whether it’s managing the power going into the battery bank from the solar array, preventing battery damage through overcharging, or protecting against discharge at night, the solar charge controller ensures your system is efficient and durable. Simply, without a solar charge controller, your solar system may lose its longevity and efficacy.
See also: How to Connect Solar Charge Controller with Inverter: A Step-By-Step Guide
Basic Wiring of a Solar Charge Controller
Mastering the basic wiring of a solar charge controller isn’t just for professional installers. It can be a surprisingly doable DIY task for you too—provided you have the correct tools and instructions (and this guide will surely assist that!). For a quick sneak peek into the process, let’s consider the link on how to wire a solar charge controller page.
See also: What Size Wire from Solar Charge Controller to Battery: Your Comprehensive Guide
Step-by-step Guide to Installing a Solar Charge Controller
See also: Wire Size from Solar Panel to Charge Controller: A Comprehensive Guide
Choosing the Right Location for Your Controller
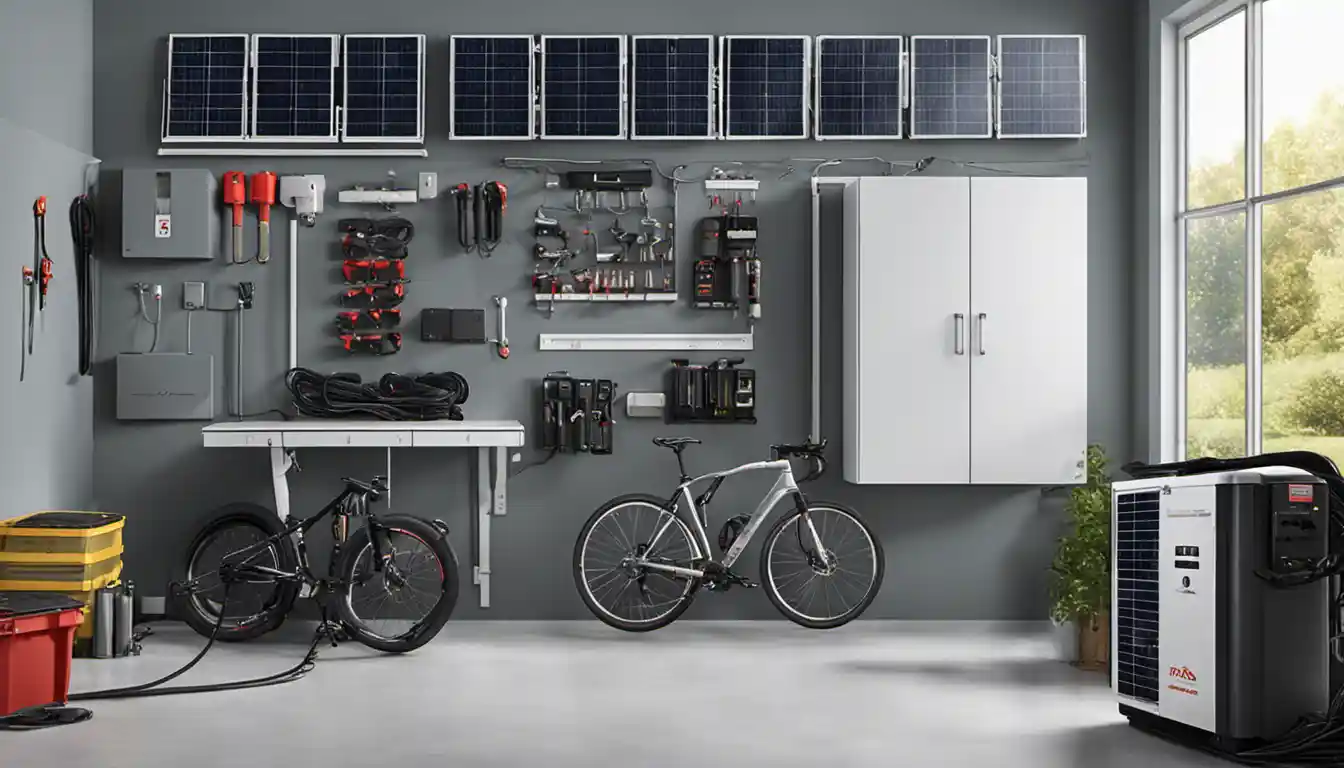
The first principle for solar charge controller installation is spot selection. Think of a place that’s close to the battery (since distance matters here), ventilated, free from flammable materials, and easy for you to access for any maintenance or check-up. Consider a wall in your garage or utility room. It might become your new favorite place in the house!
See also: Connect Solar Panels To Charge Controller (Calculated)
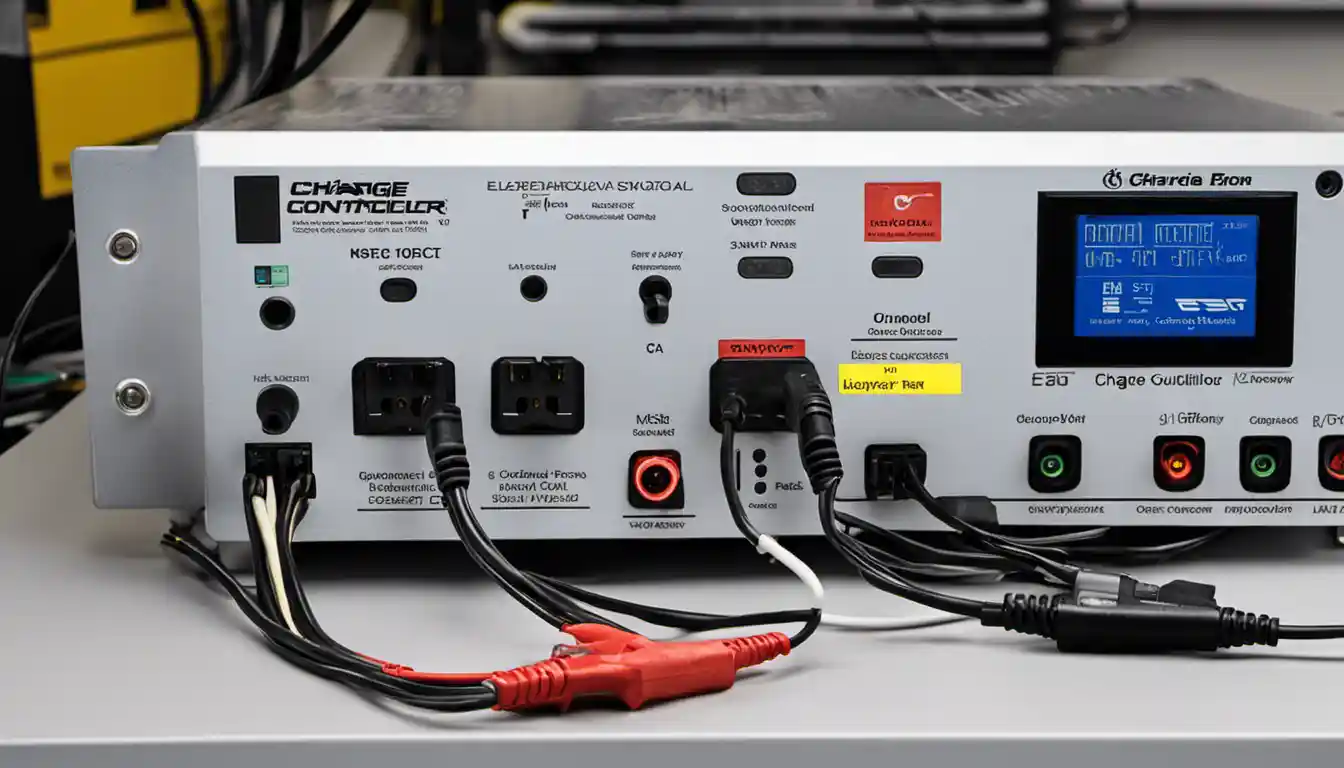
How to Connect the Solar Charge Controller to the Solar Panels
Ready for action? Here’s how to connect the solar charge controller to the solar panels. Make sure the system is powered down to prevent any accidental shock or damage. Connect the positive wire from your solar panels to the positive terminal on the controller marked ‘Solar’ or ‘Panel’. Then connect the negative solar wire to the solar negative terminal on the controller. It’s essential here to maintain the right polarity, or you risk damaging your system.
See also: Where To Mount Solar Charge Controller (Important)
Connecting the Solar Charge Controller to the Battery
Connecting the solar charge controller to the battery is a breeze, but it’s not to be taken lightly. Connect the battery’s positive wire to the controller’s positive terminal designated for the battery—usually labeled as ‘Battery’ or ‘Batt’. Then, you connect the negative wire from the battery to the corresponding negative terminal on the controller.
See also: Can You Use Multiple Charge Controllers (here’s when)
Solar Charge Controller Wiring Diagram
Understanding the Controller Wiring Diagram
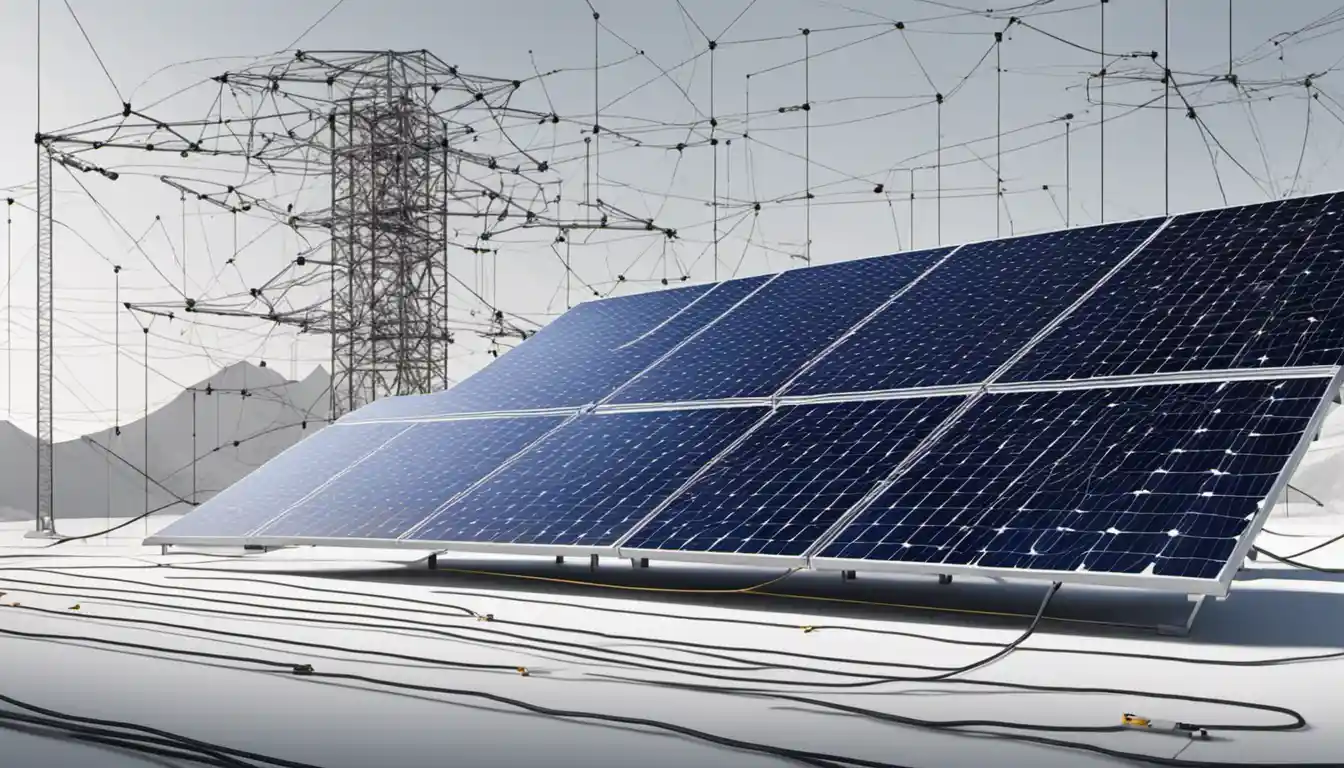
Sure, the solar charge controller wiring diagram might look a lot like your high school physics lessons, but it’s much simpler than that. It typically consists of parallel lines showing connections between the main components—solar panels, charge controller, and the batteries. You can easily understand the current flow, connectivity, and working interface from this humble diagram.
Applying the Wiring Diagram in Installation
When it comes to the nitty-gritty on how to install a solar charge controller, it’s all hidden in the wiring diagram! Think of it as your roadmap throughout this DIY journey. Start by identifying all the components and connections on the diagram. Use it as your guide, ensuring every wire and connection matches its counterpart on the diagram.
Points to Note During Solar Charge Controller Installation
Dos and Don’ts
Harnessing renewable energy is a rewarding journey, but it comes with its dos and don’ts. Some of them include do use the right tools; do ensure correct polarity; don’t overdress this DIY project; meaning, keep it simple and follow the instructions closely.
Safety Precautions While Installing Charge Controller
Safety can’t be overstated. From using insulated tools to wearing safety gear (gloves, protective eyewear), remember that you’re dealing with electricity here. Keep the system powered down during installation, and ensure all connections are tight and correct.
Steps to Verify a Proper Solar Charge Controller Installation
Checking Connections
Remember that one time when your laptop didn’t work because the power cord was loose? Checking connections in your solar charge controller installation is quite the same. Double-check every connection, terminal, and wire. Ensure they’re firmly and correctly connected.
Confirming Power On
Now for the moment of truth. Power on the system. If you’ve followed this guide (and I believe you have), you should witness your solar charge controller springing into life and starting that green energy magic!
Conclusion
Solar charge controller installation isn’t rocket science! With the right guidance—and a good dose of patience—you’re well on your way to getting the most out of your solar energy system.
Remember to begin by understanding what a solar charge controller does to appreciate the essence of each installation step. Ensure your wiring matches with your controller wiring diagram, and safety remains paramount throughout the process. And, as always, if you need more guidance or if it feels a little too overwhelming, don’t hesitate to reach out to a professional.
Harnessing solar energy isn’t just about reducing energy costs—it’s about making green choices for a sustainable future. So why not start today? After all, the future is now!
